Recipe: Italian Mimosa cake

Just in time for Women’s day – here is a classic recipe for the delicious Italian mimosa cake.
It is usually prepared for Women’s day on 8th of MarchDSC00686
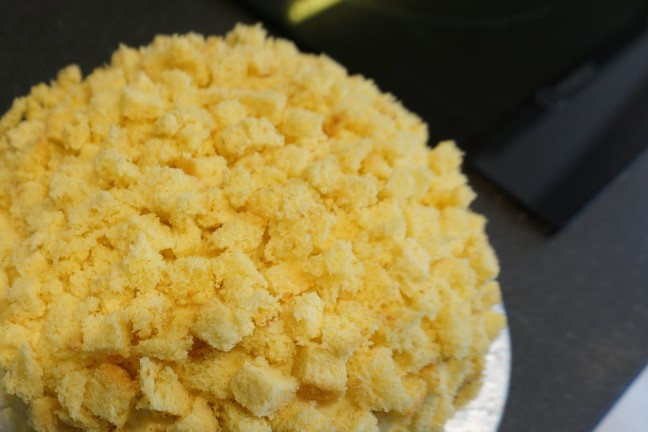
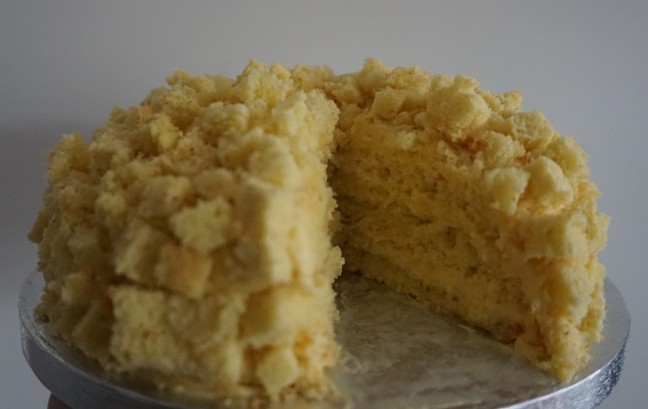
The name of the cake is due to its shape resembling the flowers of the mimonsa plant

129966558754916132358_DSC00515

Level of recipe difficulty: medium

Ingredients:
For the cake base:

  • 2 eggs
  • 4 egg yolks
  • 110 g sugar
  • 100 g flour
  • 20 g potato flour (fecola di patate – sold in Italian delis)

For the custard:

  • 150 ml milk
  • 150 ml double cream
  • 100 g sugar
  • 4 egg yolks
  • 27 g flour
  • 1 teaspoon vanilla flavour

For the dip:

  • 50 ml water
  • 1 table spoon orange blossom water
  • 25 g sugar

For the cream with sugar:

  • 100 ml double cream
  • 10 g icing sugar

Method:
First prepare the cake base:

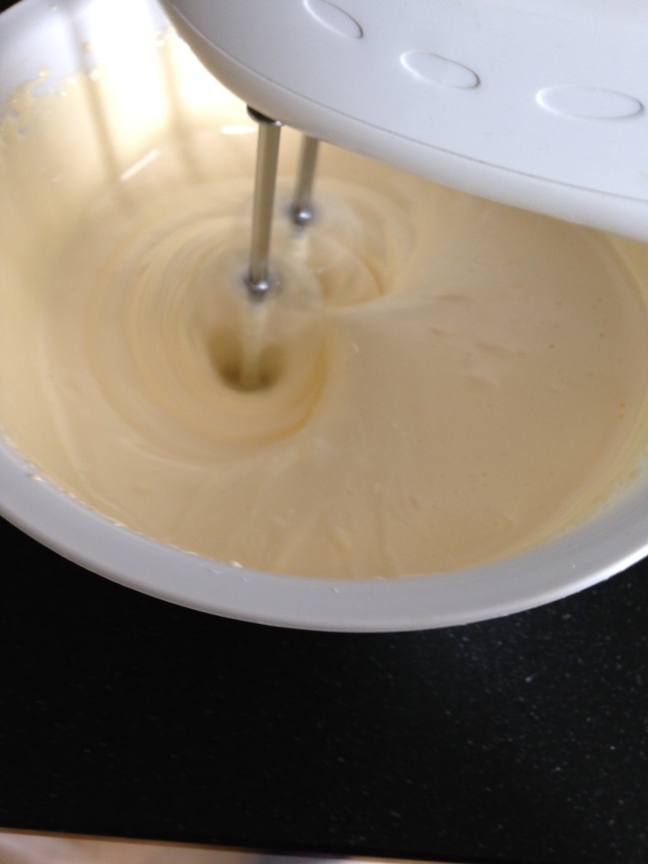
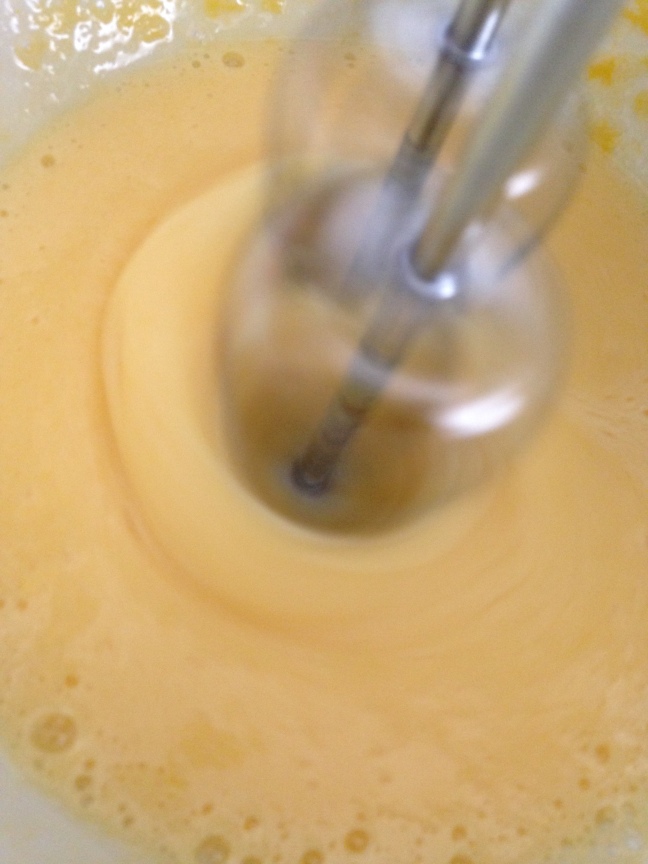
Mix the eggs and sugar in a bowl, using an electric whisk for 10 – 15 minutes at high speed. This is an important step to ensure the cake base is light and full of air bubbles.
Then add the egg yolks and continue mixing for another 6 minutes. 
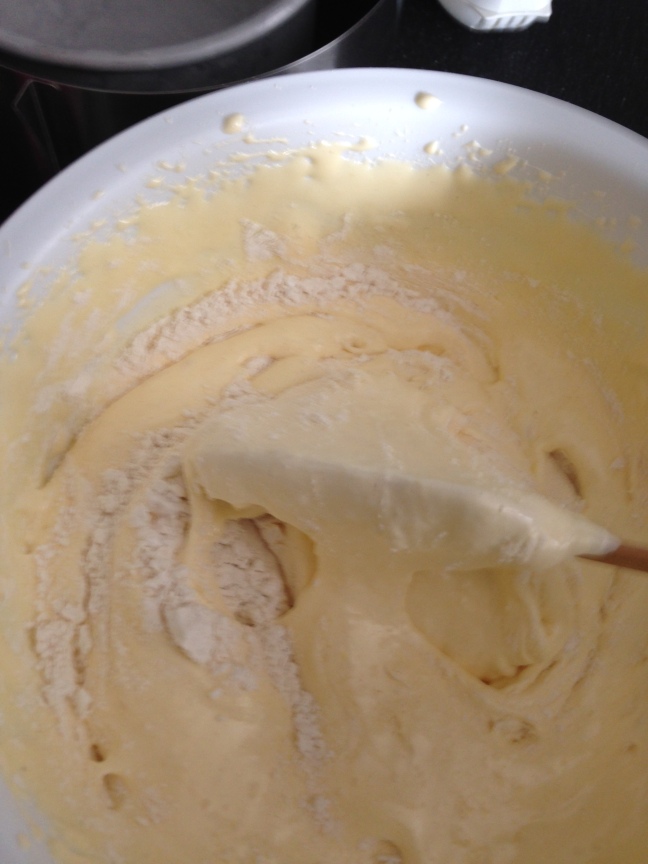
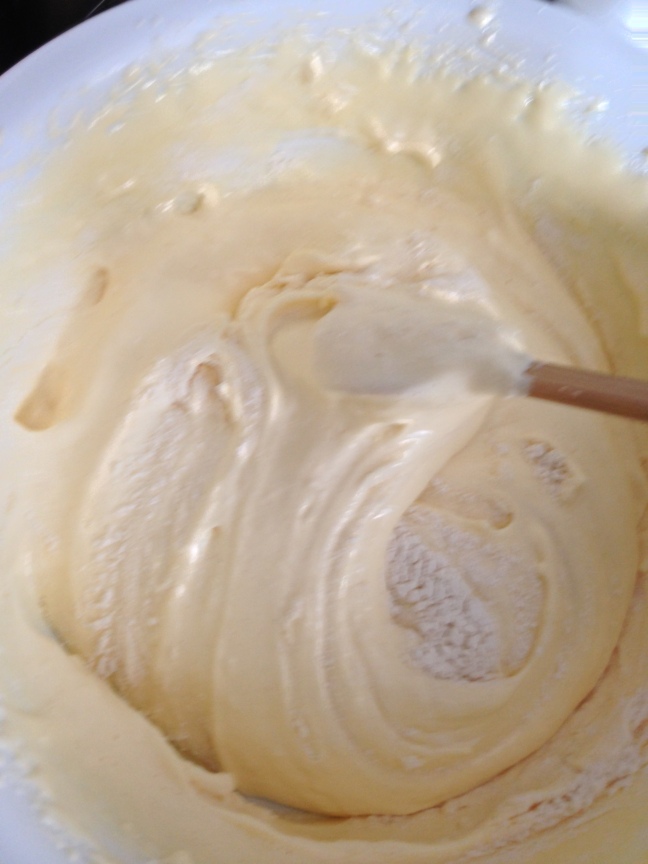
IMG_2642IMG_2656Once the eggs have been incorporated, add the flour and potato flour through a sieve, folding the flour in delicately by hand to add even more air into the mix.
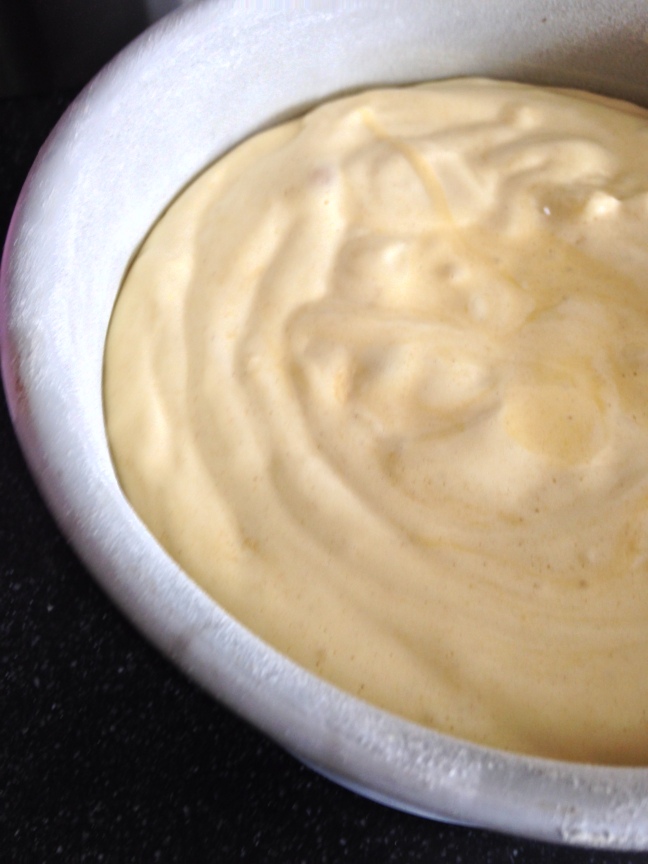
IMG_2664IMG_2667Butter and flour a round baking tin, add the cake mix and bake at 180°C for circa 30 minutes. IMG_2671
While the cake bakes, prepare the custard:
In a small pan mix the milk, double cream and vanilla flavour.
In another small pan mix the egg yolks and sugar.
Heat both pans up, stirring constantly, but do not boil.
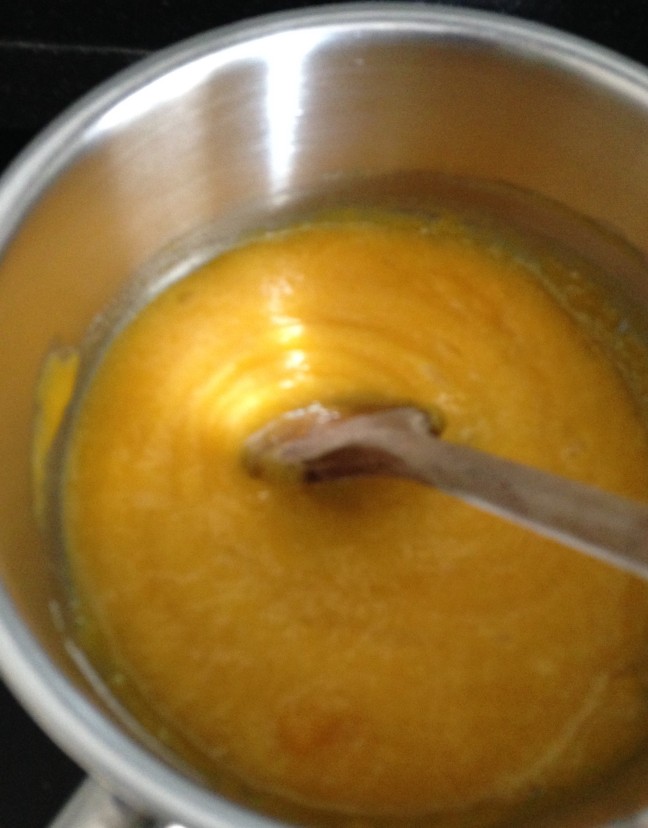
Stir the egg and sugar mix with a wooden spoon. Then add the flour and stir it until smooth.
Now add the warm milk and cream into the egg-sugar-flour mix and stir at medium temperature until the custard starts to set.
Ensure the flour in the custard cooks. 
Once the custard starts to bubble, remove it from the heat and pour it into a flat pyrex ramekin.

IMG_2674
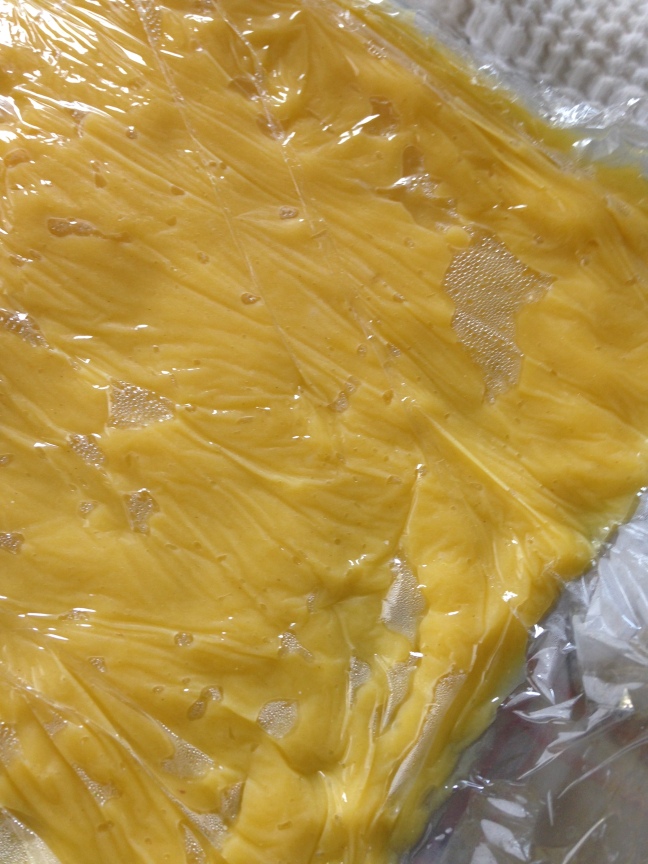
Cover the custard with cling film. The cling film needs to touch the custard. Then place it in the fridge to cool. IMG_2694
Prepare the dip:
In a small pan, mix the water, sugar and orange blossom water. Heat it up to let the sugar melt. Then put to one side to cool.

Assembling the cake: 
When the cake base is baked through and a skewer comes out clean, remove it from the oven and let it cool on a flat surface , turning the cake base upside down.


Once the cake base has cooled completely, cut off the brown crust all around the cake to reveal the yellow cake. Now cut it into half.
Then with a long-bladed knife, cut one of these cake halfs carefully into three even layers. These will form the layers of the cake.
Cut the other half of the cake base into small cubes. These will be used to decorate the top and sides of the cake.


Whip the cream and caster sugar. 
Keep two table spoons of cream to one side
Place the first cake layer on a plate or cake stand.
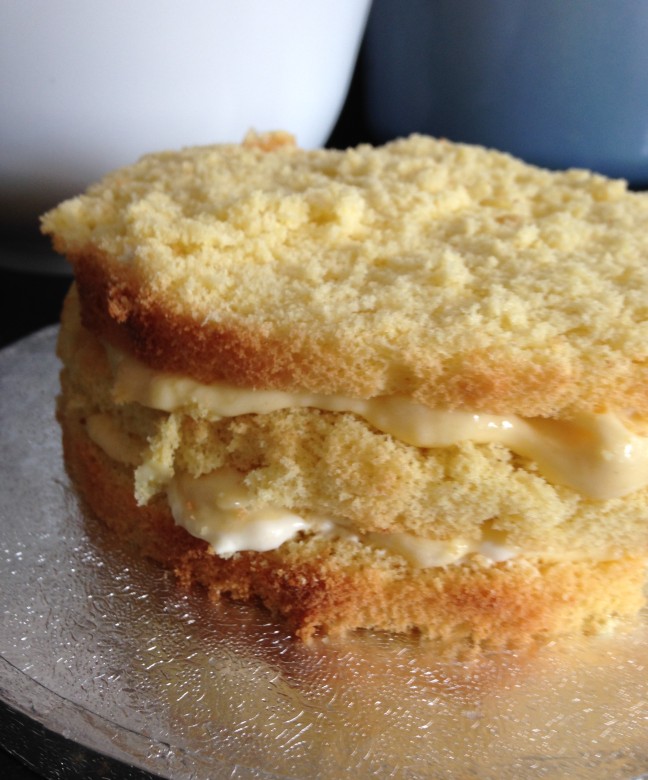
With a table spoon drizzle a third of the dip onto the layer. Then spread some cream on top and then some custard.
Cover with another layer of cake. and repeat.
Then cover with the third cake layer.
IMG_2700

Once you have assembled the three cake layers with the dip, cream and custard, cover the entire cake with custard and do the same with the sides of the cake. 

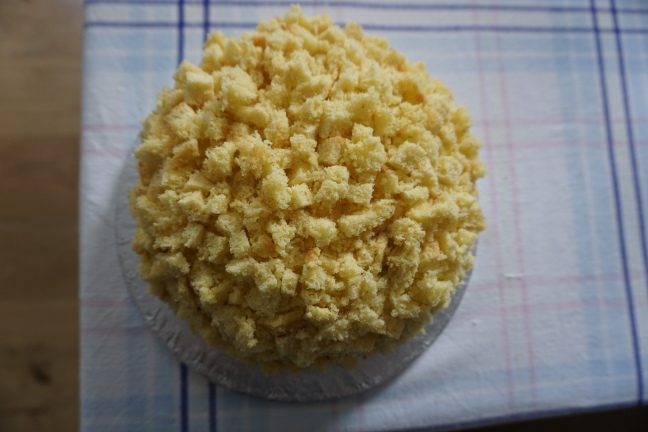
Then cover the top and sides of the cake with the yellow cake cubes you have cut. The custard will act as ‘glue’. 

Ensure the cake is covered with cubes from all sides, place in the fridge and voilà your mimosa cake is ready!
DSC00680

DSC00686

DSC00689

129966558754916132358_DSC00515

I hope you enjoyed. Happy Women’s day!

A Hackney garden in summer – part 3

Mornings in our garden in June and July are wonderful.
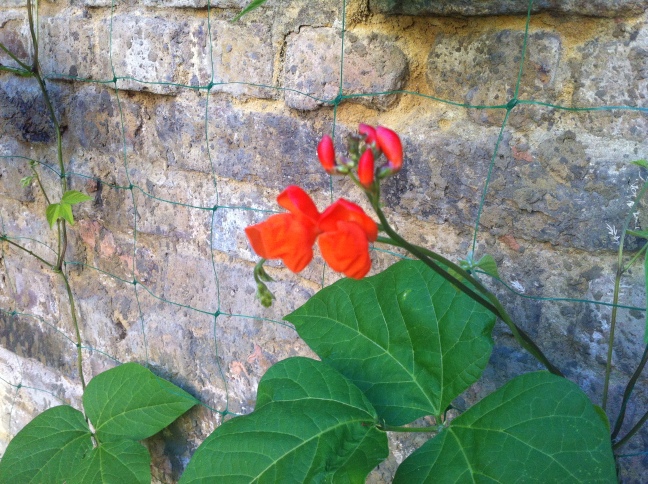
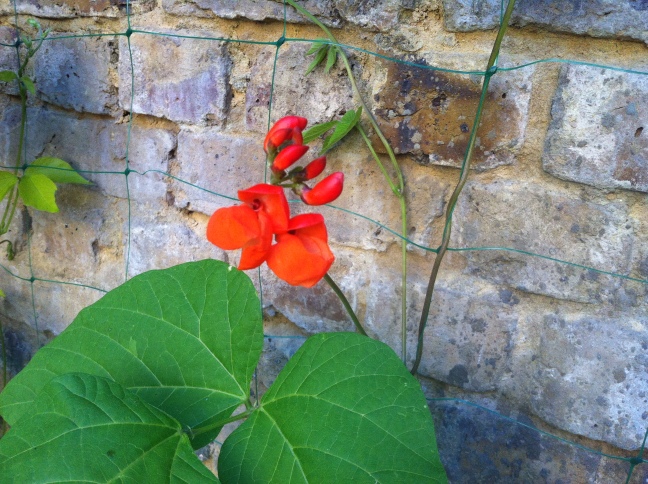
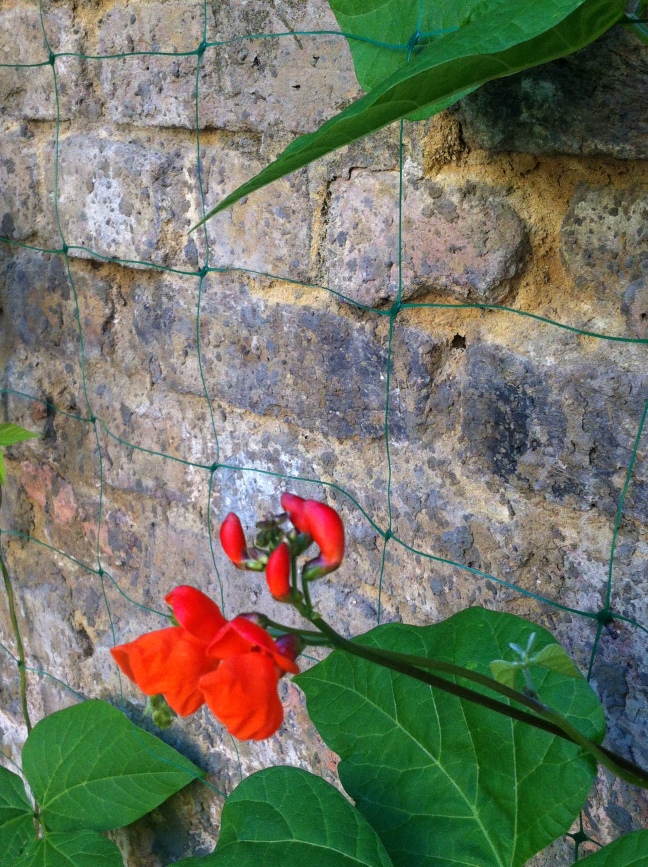
At the back you can see that the runner beans grew a meter tall and started to flower.

IMG_3426

IMG_3424

 Runner bean blossoms:

IMG_3406

IMG_3414

IMG_3438

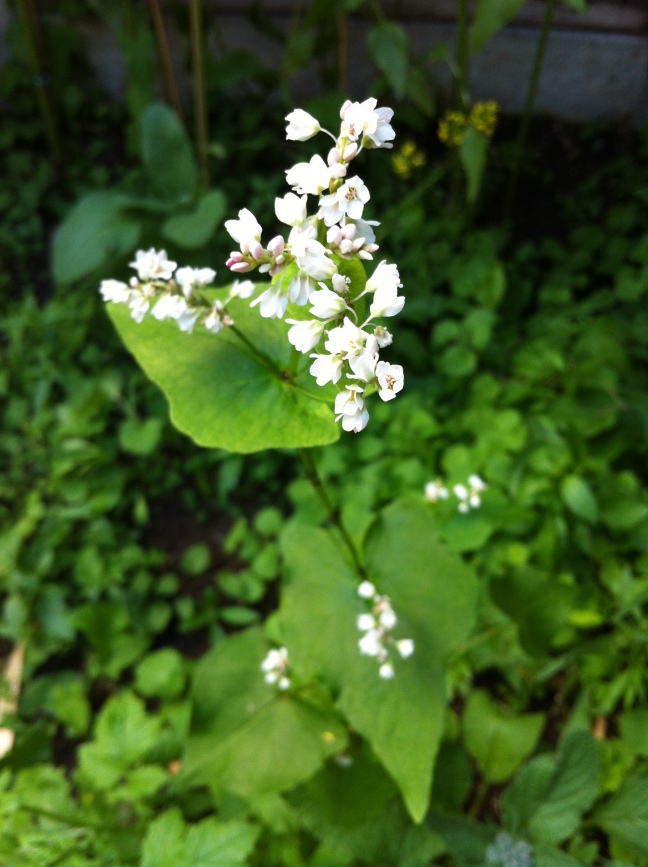
 A few wild flowers blossomed in the ‘meadow’ section of our flower bed: 

IMG_3538

 A detail from our staircase garden:

IMG_3550

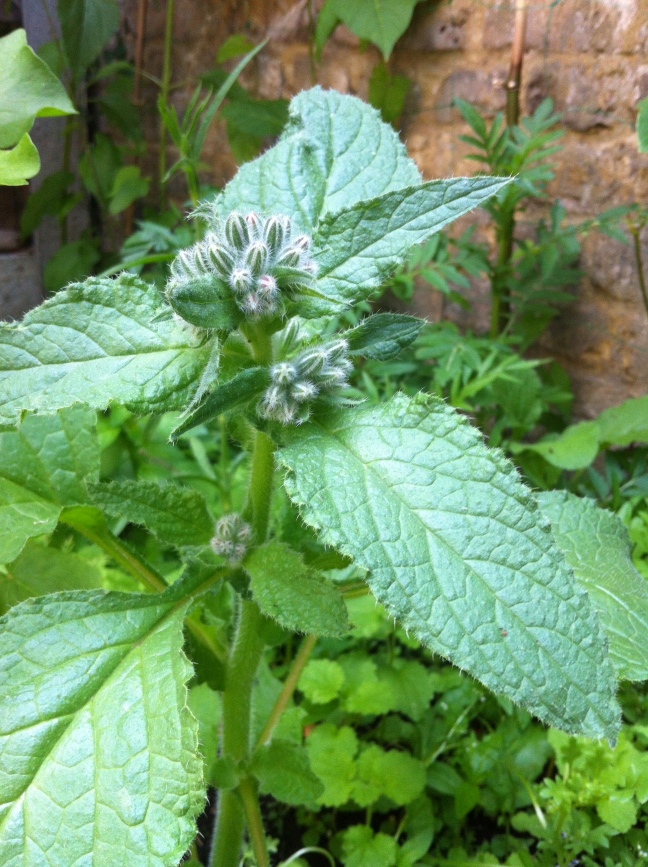
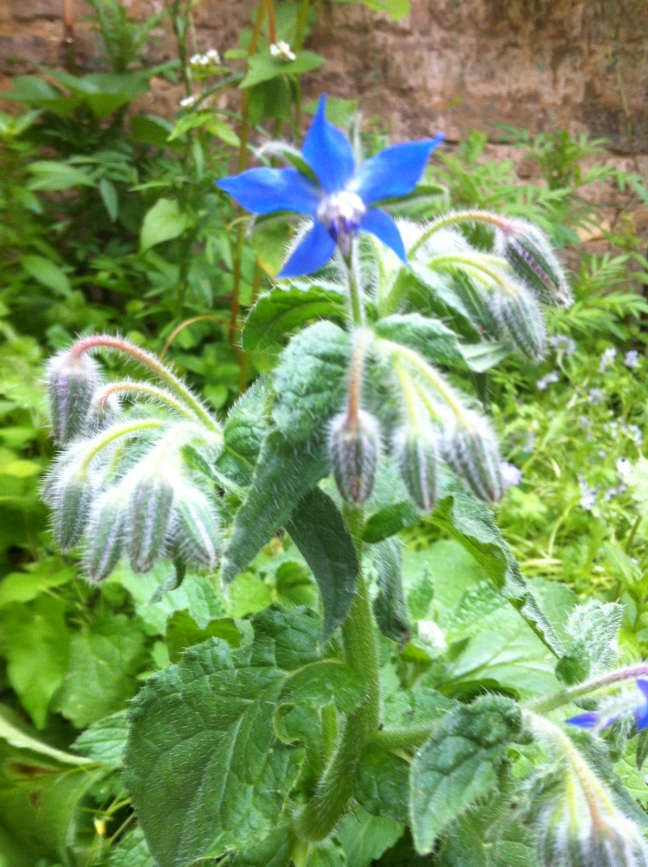
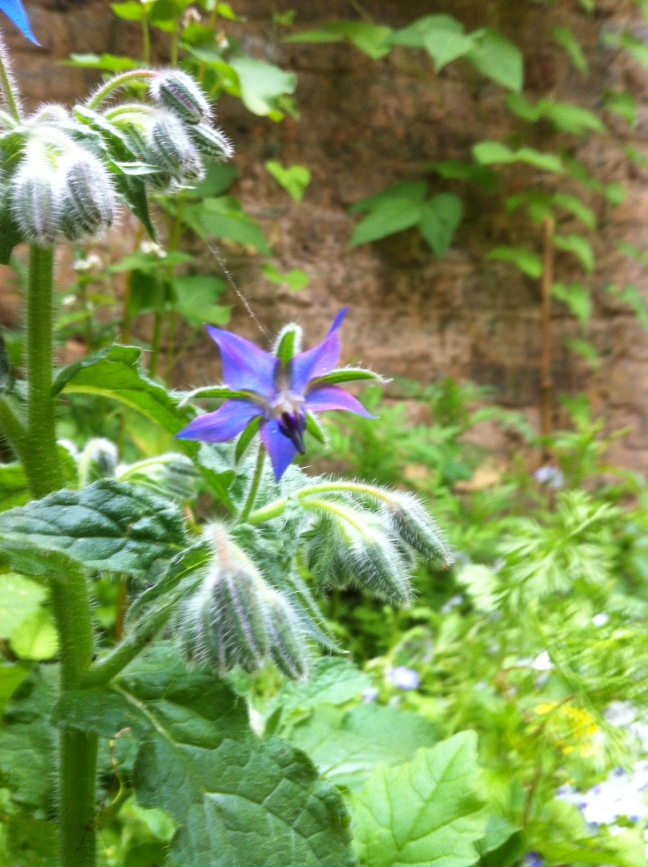
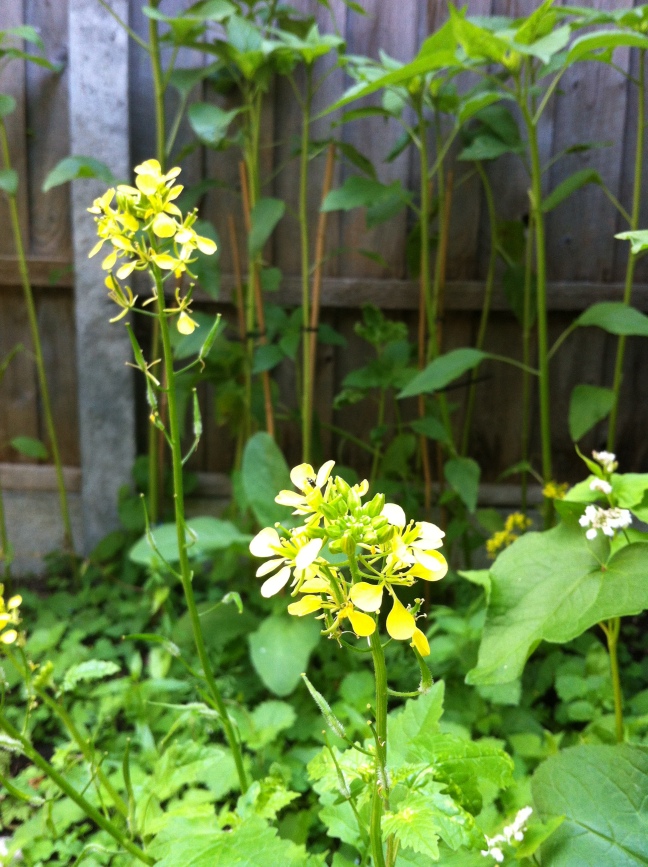
Another wild flower, Borage:

IMG_3563

IMG_3653

IMG_3654

IMG_3568


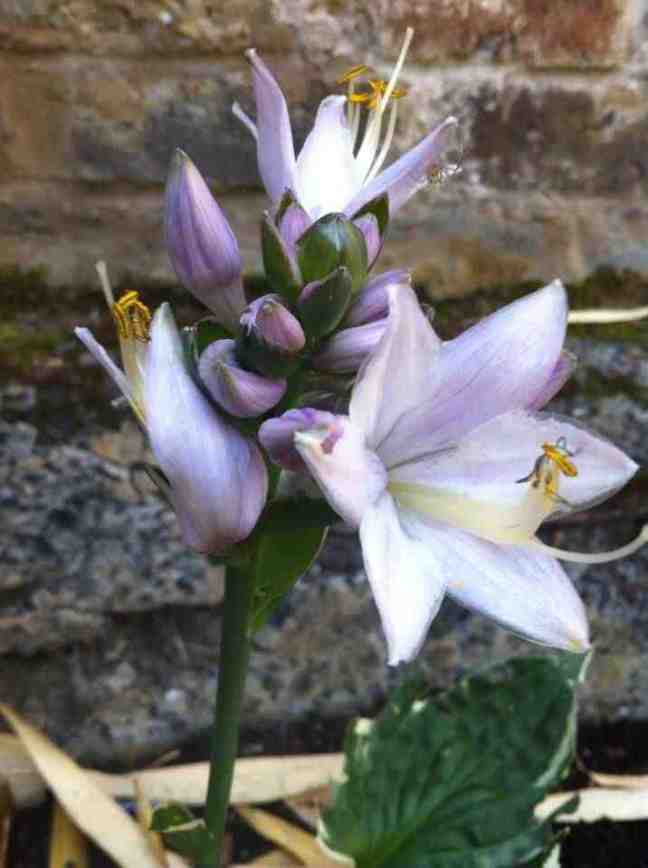
Hosta flower:

IMG_3465


Hosta flower

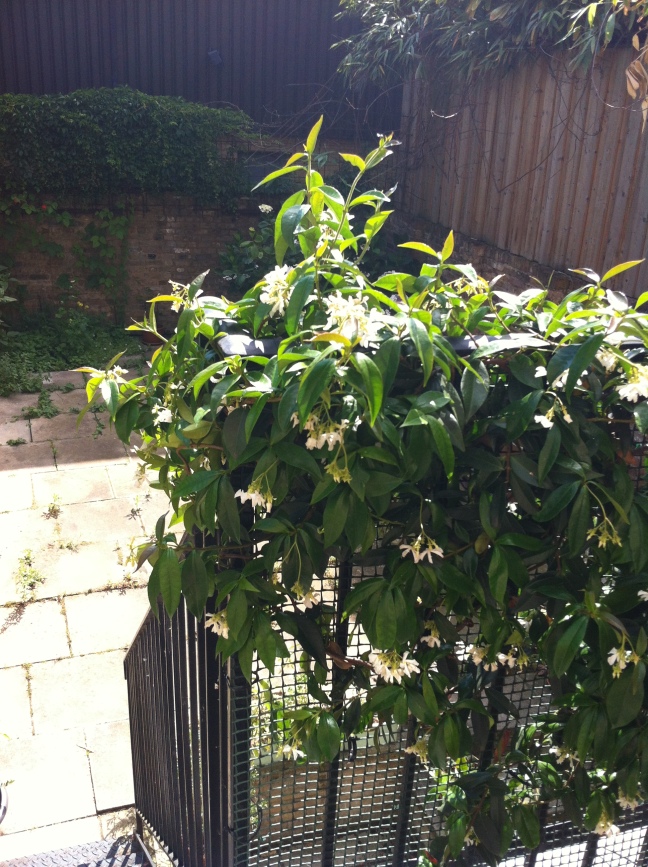
 Star Jasmine:

IMG_3583

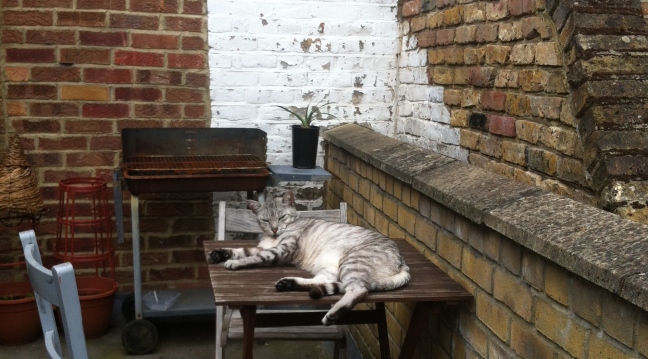
 And our friendly visitor, the neighbours’ cat Stanley, who comes round every morning

IMG_3647

IMG_3648

National Gardening Week update – Seedlings in pots

As part of my £50 gardening project, started during National Gardening Week, I prepared the soil and unfortunately had to resort to snail killer (I chose an organic one which is safe for pets as our neighbour has a cat).
Over the last ten days I have been 
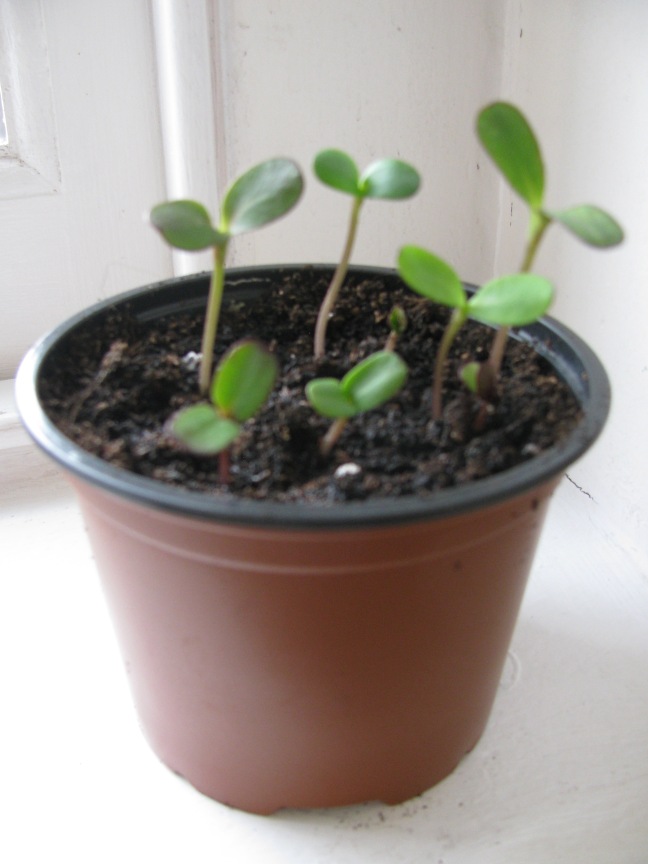
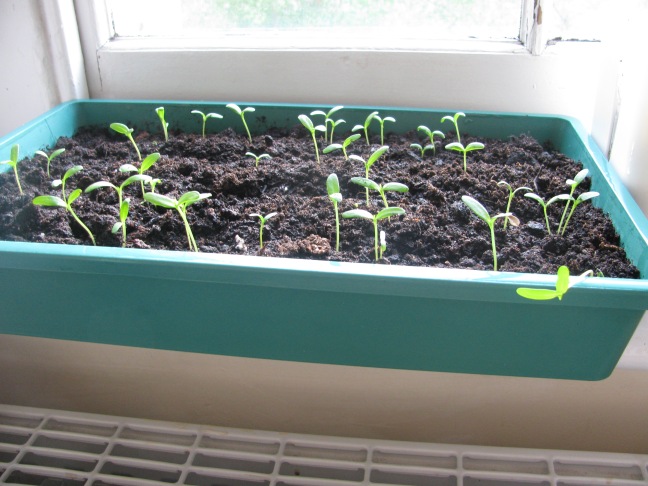
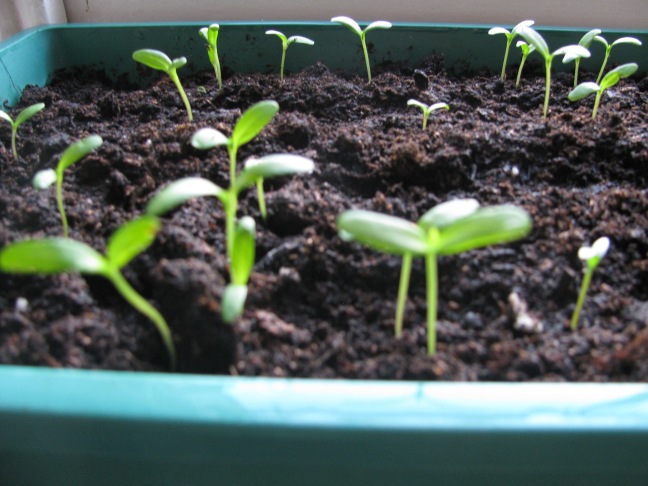
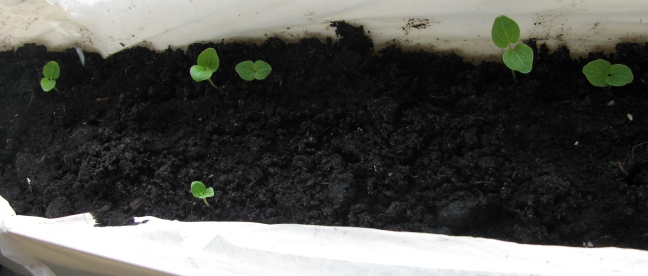
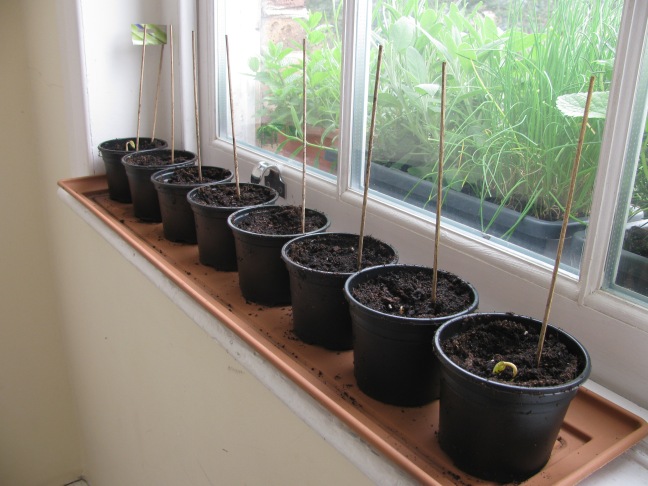
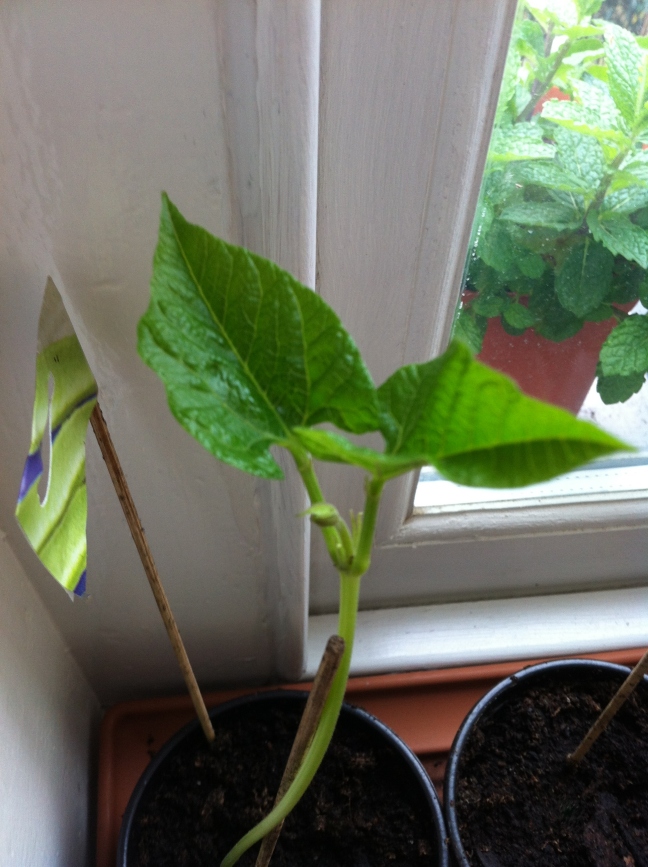
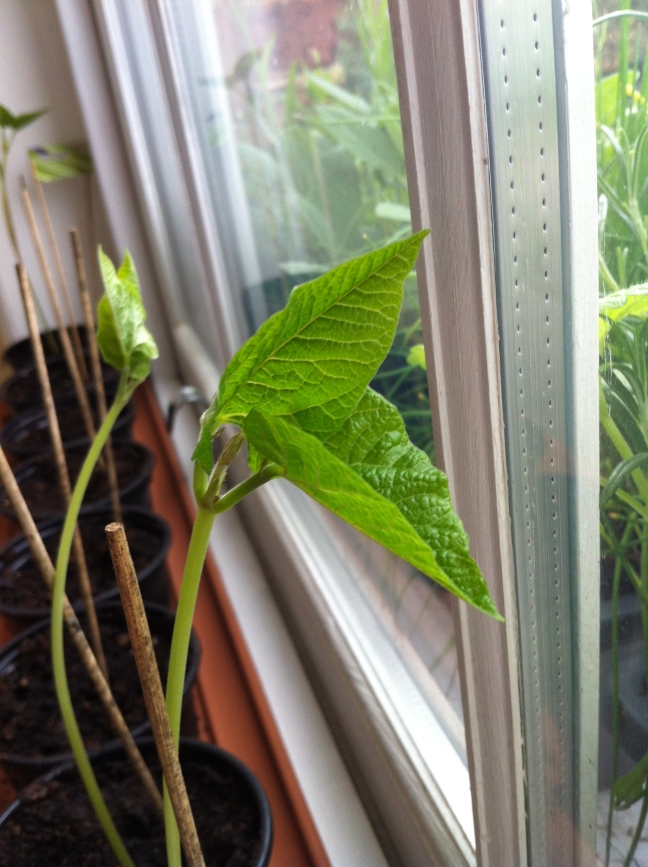
propagating flower seeds indoors. The seedlings are coming along nicely. There are Sunflowers, Marigold, Hollyhock and runner beans.
I
n year three of my urban gardening efforts, I am no longer nervously waiting for the seeds to sprout. I know, it is a matter of letting them be and watering them regularly  – they won’t grow faster just because I look !
I have to say, time has passed quickly and I am rather pleased with the progress:

Sunflowers: 

Sunflower seedlings

Sunflower Seelings

 Marigold:

Marigold

Marigold seedlings

Hollyhock:

Hollyhock

 Runner beans:

Runner beans

Runner Beans


Runner Beans


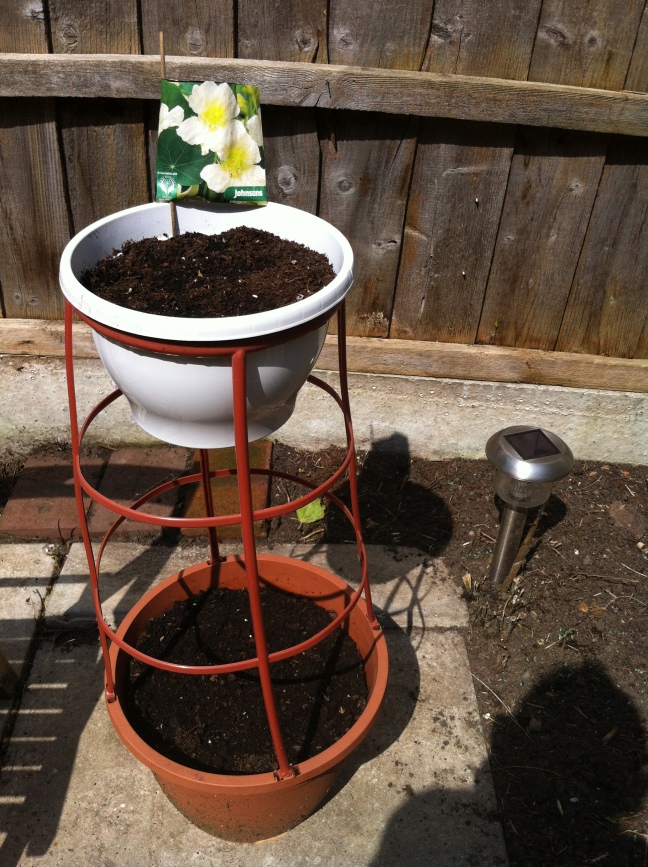
Indian Cress:

IMG_3242

 Updates coming soon


Planting your own Kitchen Window Herb Garden

This was something I intended to do last year, but never took the time to put into practice. So in March this year I finally went for it. 

Eight herb plants were the most I could fit into two planters and a pot. I ventured to Columbia Road Flower Market  and as usual was not disappointed. The quality of plants they sell is second to none and the price is neither. 
My strategy on Columbia Road Flower Market is to walk the entire length of the market and assess every stall without buying anything, then turn back and pick the healthiest plants from the stalls that made it into my short list. I always end up buying one or two plants from two to three different sellers. Every stall is specialised in a specific area, so the stalls I buy from change depending on what I’m looking for.

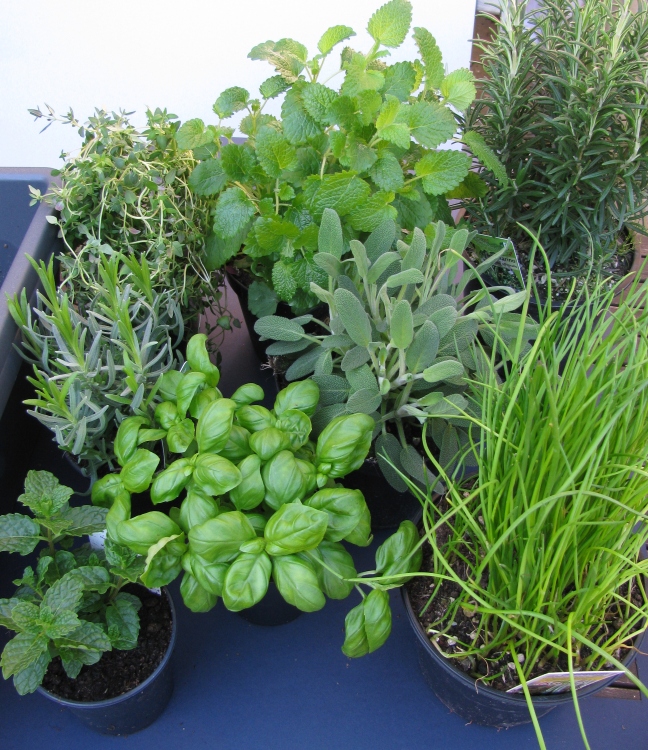
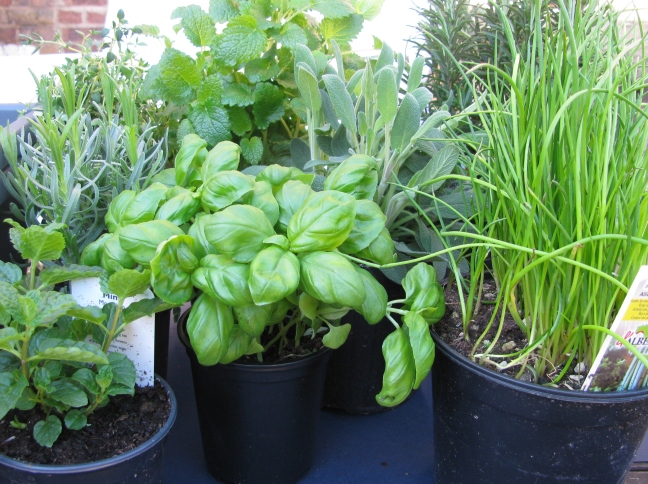
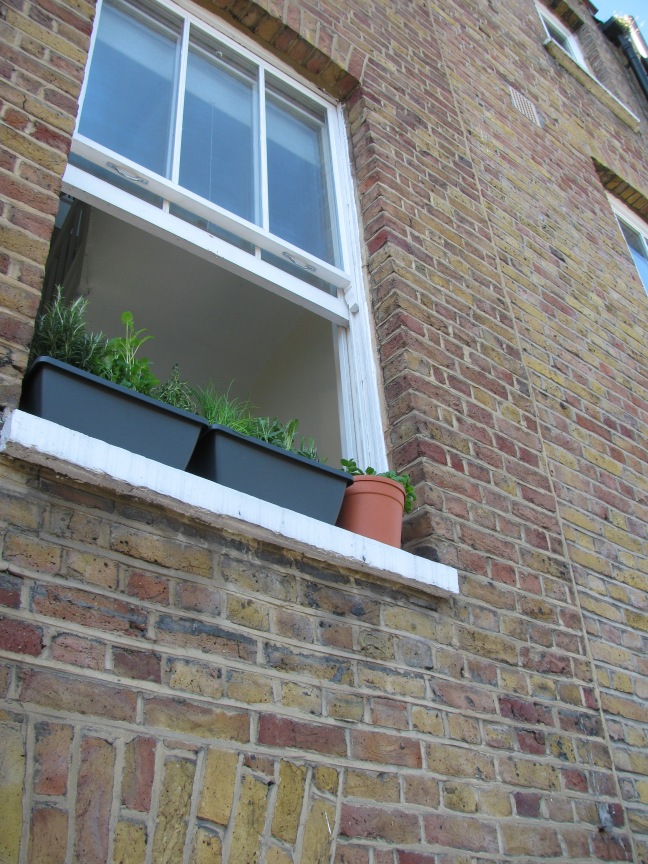
For the Kitchen Window Herb Garden I bought one of each (clockwise from the top left):
Thyme, Lemon Balm, Rosemary, Chives, Sage, Basil, Mint and Lavender

Herbs

Herbs

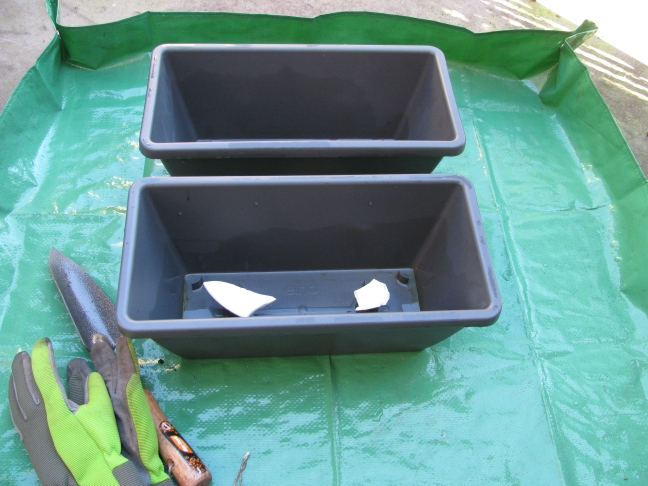
 Before filling the planters with soil, I covered the drainage wholes with potsherds.
One could also use small stones.

IMG_8544

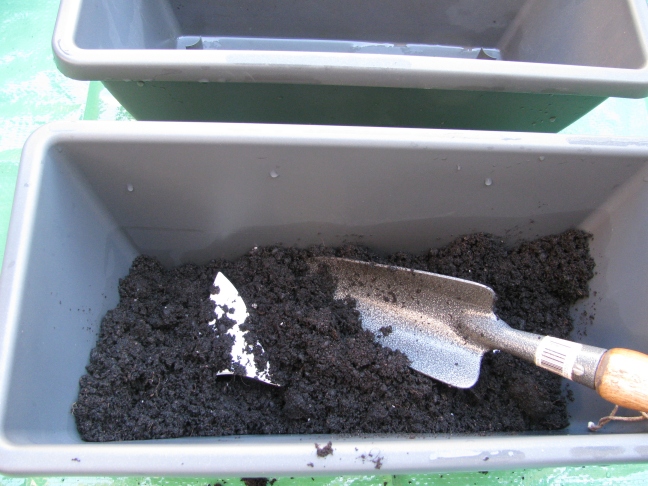
 Then added fresh soil and the plants.

Herbs

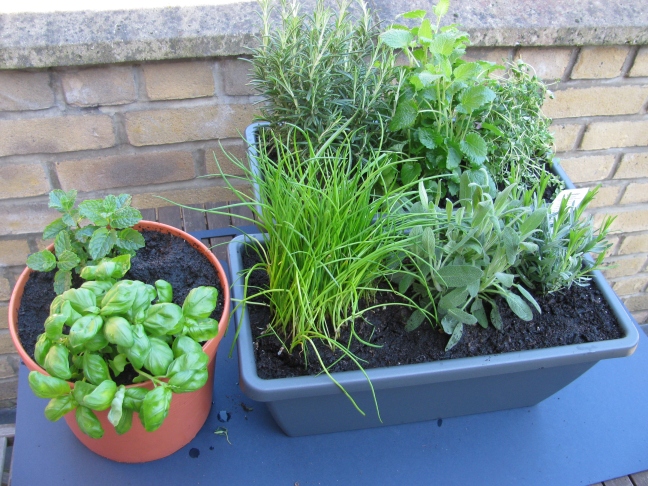
When deciding which plants to put together in one pot, I placed the Basil next to the Mint plant. I believe this was a mistake, as the basil did not last for two days. I’m certain it was not due to the quality of the plant, but rather due to the location, too much or not enough water or the fact of having been placed next to the mint plant. To be honest I don’t know. However all other plants are doing well and are now on the window sill. 

Herbs in Pots

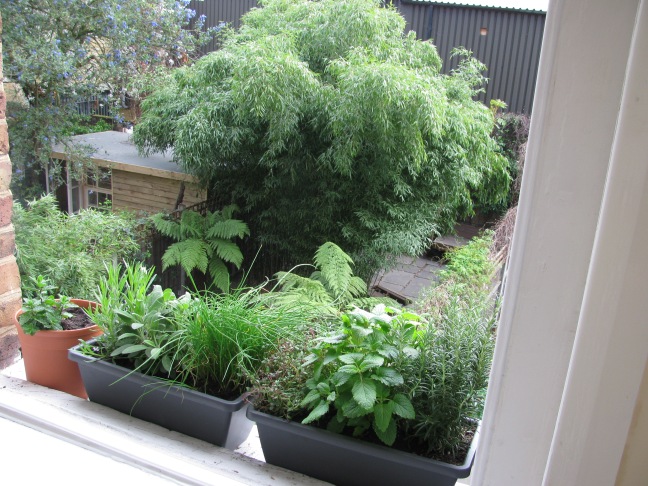
Herbs on windowsill


Herb Garden on Window Sill

Happy Gardening!

It’s Spring – The 2014 gardening season has begun!

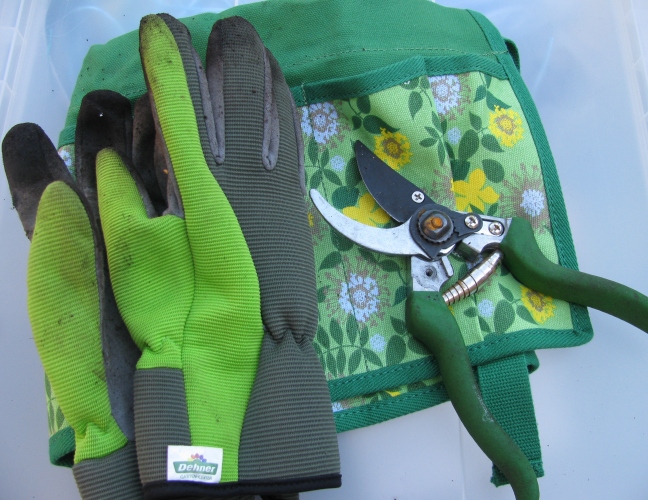
Gardening tools


2014 is the third year I’m writing this gardening blog and I’m very happy to have you as my followers –  many more than when I started.

I never advertised much that I have a blog among friends, family or colleagues, so I can really say that, if you are thinking of starting a blog yourself, go on and do it. I recently read an article and completely agree: if you have an interest or hobby, write about it and share it in a genuine way, people with the same interests will find you.

This year, I started planting later than in previous years, but nonetheless there are plenty of posts to come. I hope you enjoy reading and seeing the pictures of my urban gardening efforts in London and here is to a successful 2014 gardening season!


Seven small improvements to my garden

Hi everyone!

I have five hours of solid gardening work behind me. Yesterday my determination to clear up the garden for the summer suddenly took over! Once I got started, I could not stop. Now below are photos of my efforts.

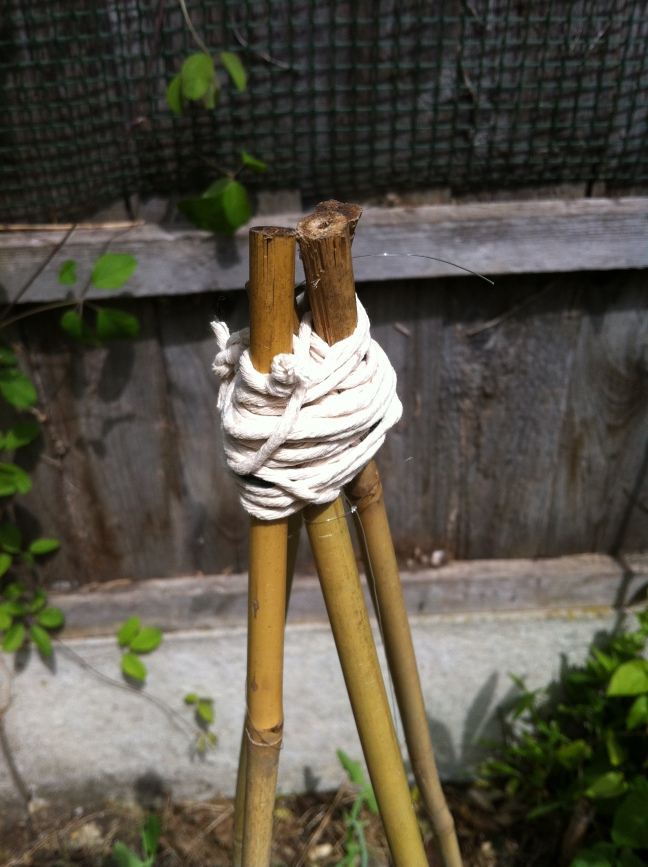
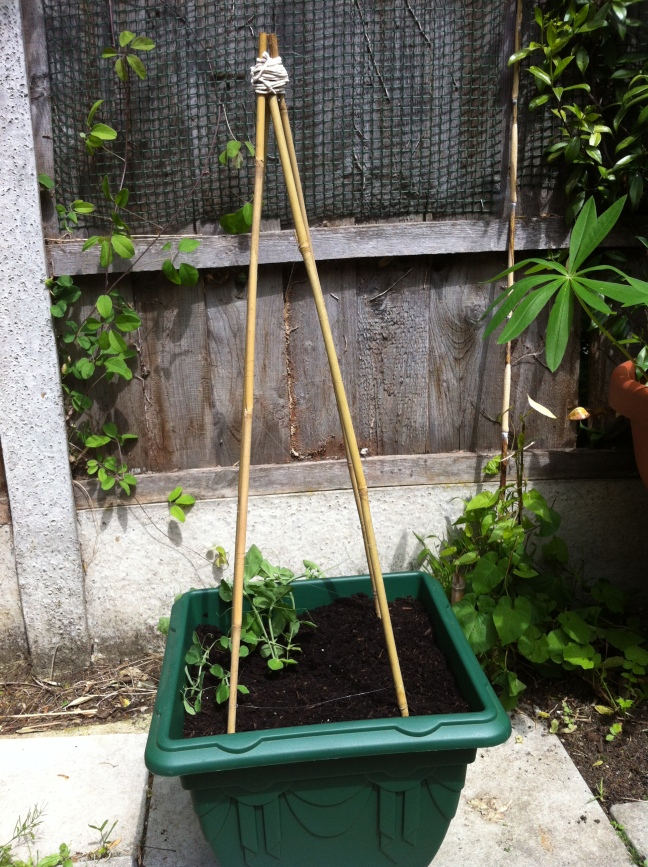
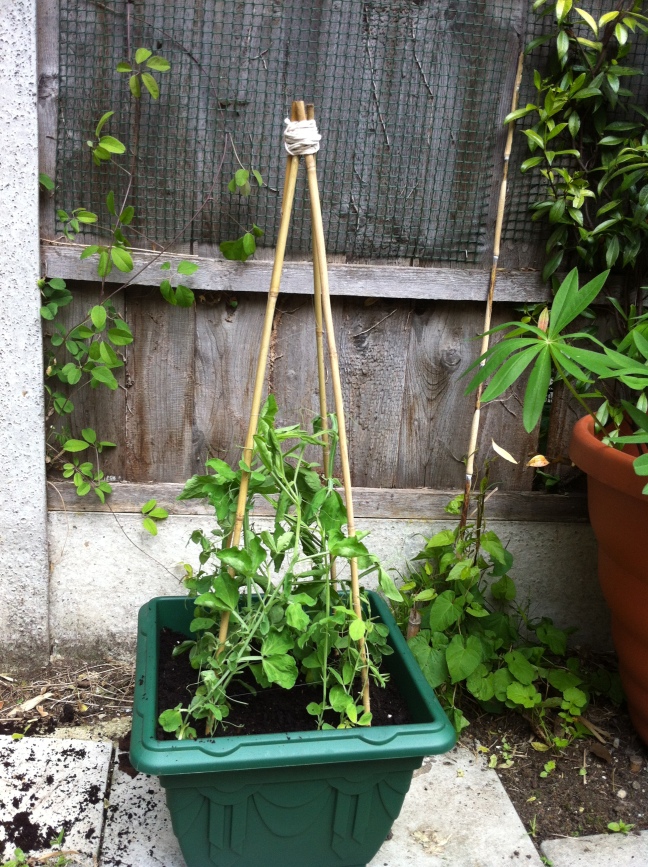
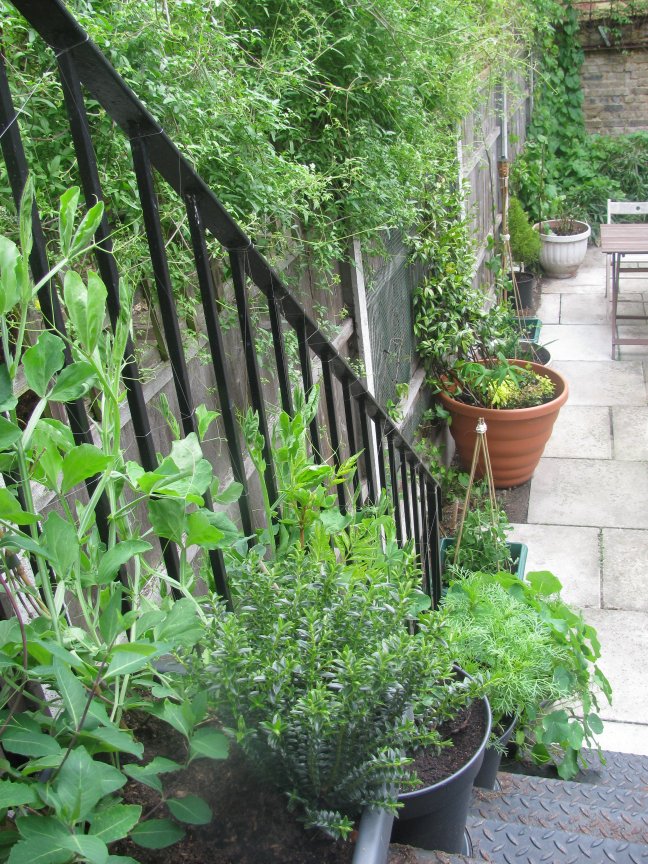
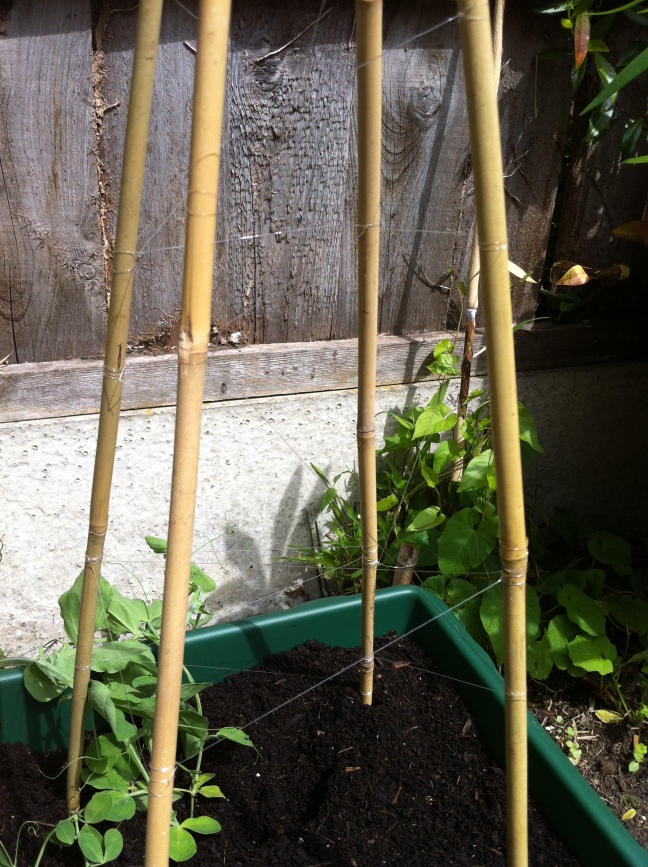
As it turned out over recent weeks, some of the pots on the staircase had too many plants in them and the leaves were getting into each other’s way and sunshine. To address this, I bought two new pots and bamboo sticks to redistribute the plants. In half an hour I built two pyramid-shaped climbing structures. At the top I tied the bamboo sticks together with garden wire and covered this with cord for a nicer look. I then attached fishing wire to the bamboo to create a climbing grid for the sweet pea seedlings.

079

080

078

At the moment the seedlings look a bit miserable due to the re-potting.
The idea is that they should grow up the trellis in a triangular shape.082

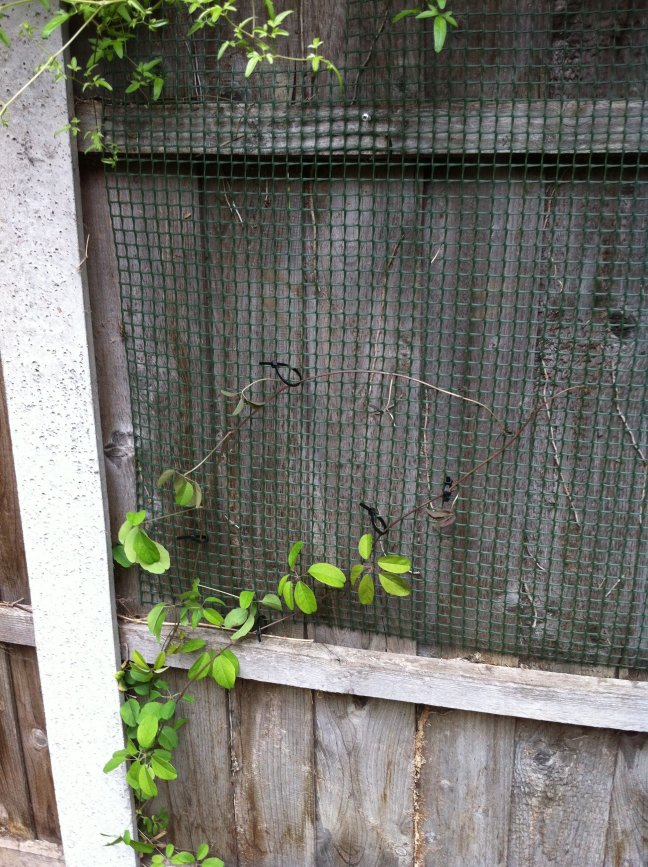
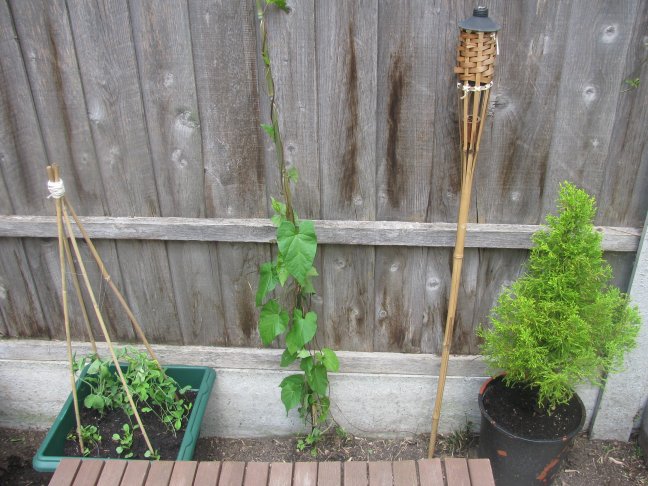
Next, I decided to make use of what plants we have in our garden, be it climbers growing through the fence from our neighbours’ garden or plants left by tenants that recently moved out from our house. To that effect, I attached a plastic grid to the wooden garden wall and started to guide a climber that grows through the fence, up this trellis.

wild climber

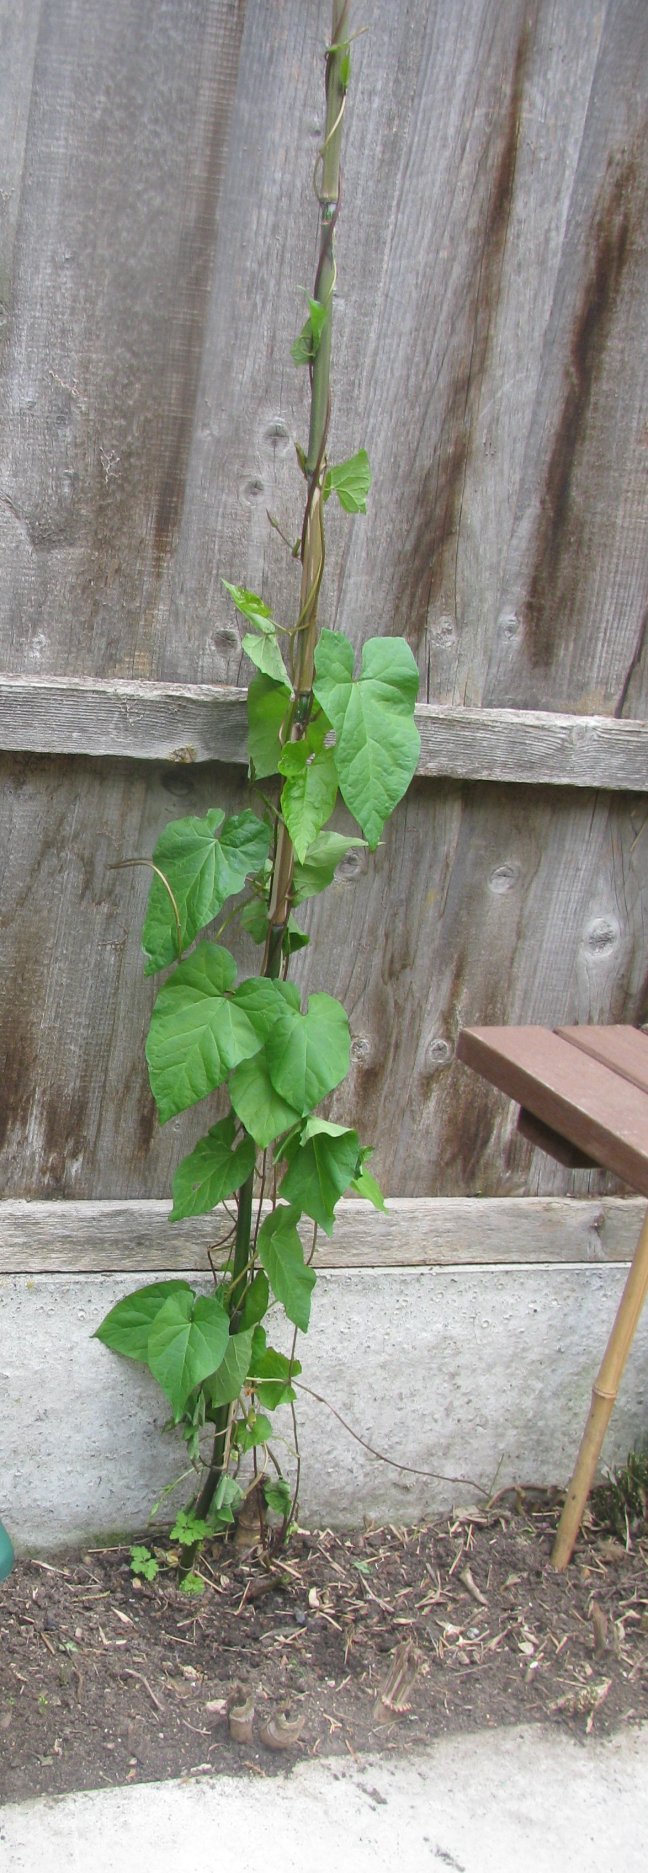
I also provided a bamboo stick as support for a wild climber that has started to grow out of the soil.

wild plant growing up a bamboo stick

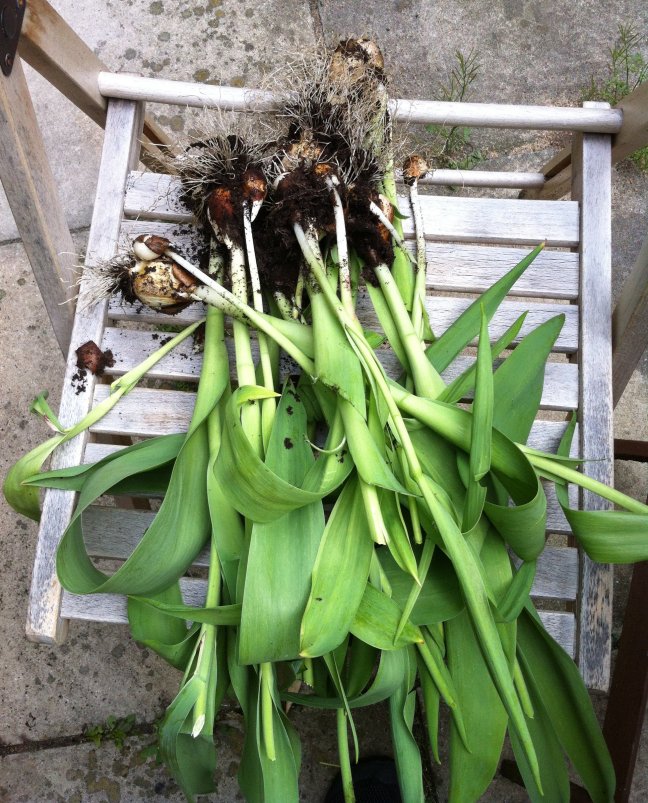
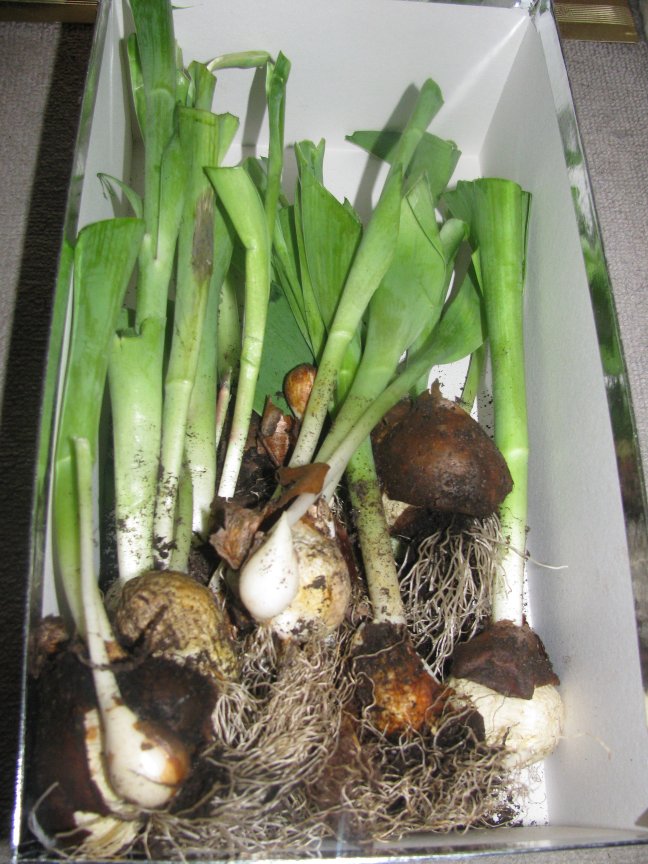
It was also time to remove the faded tulips from their pot and to place them into a box so they dry and can be re-planted in November. For more information on what to do with tulips throughout the year, here is a link to my blog post on tulips.

faded tulips with roots

faded tulips in a box

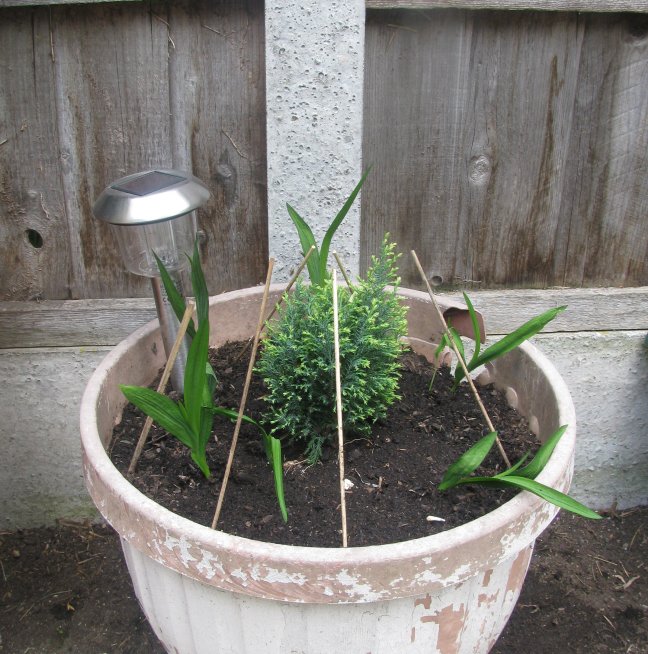
As only very few of the Freesia bulbs I received for free from the Guardian Gardening Centre have sprouted, I added a plant from the staircase into the middle of this year’s low cost plant arrangement.

016

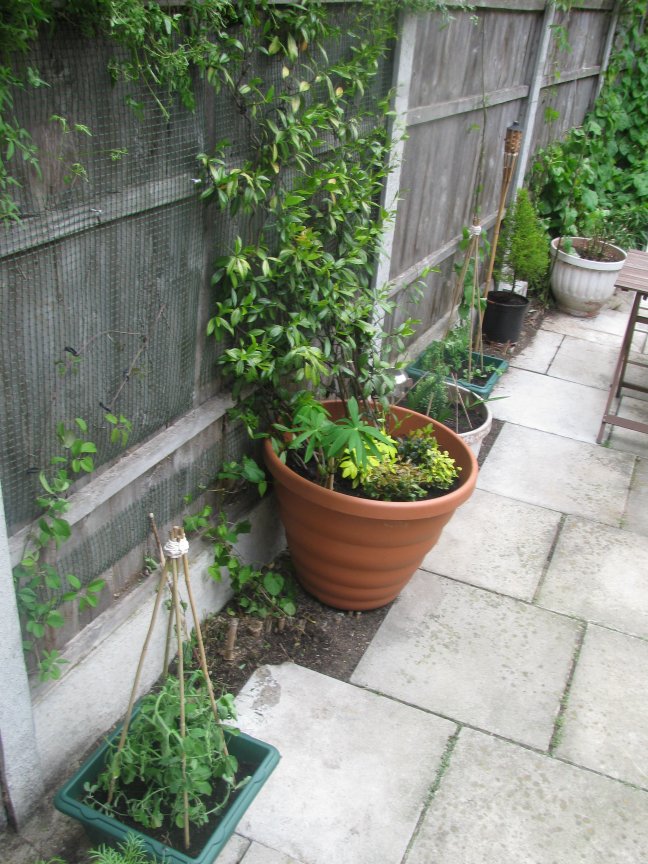
I checked on the tomato seedlings and my staircase project (part of separate blog posts), and to finish things off, I re-potted the lemon cypress, re-positioned the torch-light from last year and cleared up the floor. Job done, I was pretty tired, but hopefully you like the result :  )

019

014

007

It’s spring re-pot

A perfect sunny day in Hackney made me feel compelled to plant several packages of seeds I have received from my friend, and to re-pot small plants I think could do with a bit more space for the summer.

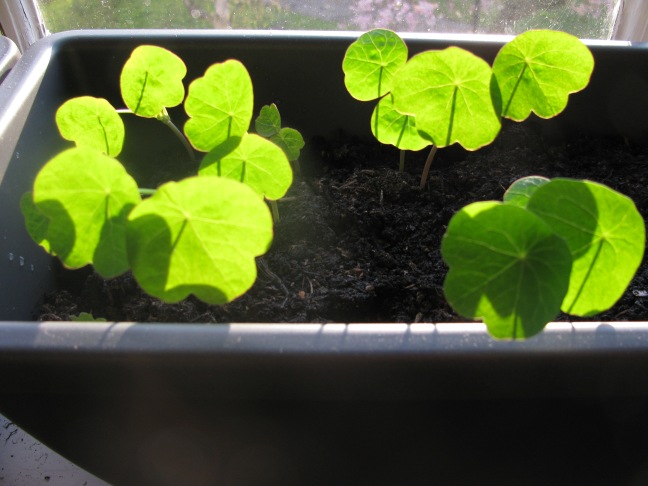
Indian cress seedlings

Today was mostly about taking care of plants that haven’t costed me anything. The seeds were a present, the small carob plants were grown from free seeds as well and by buying climbers from the Guardian Garden Centre, like anyone else who orders a certain amount from them, I received some free bulbs.

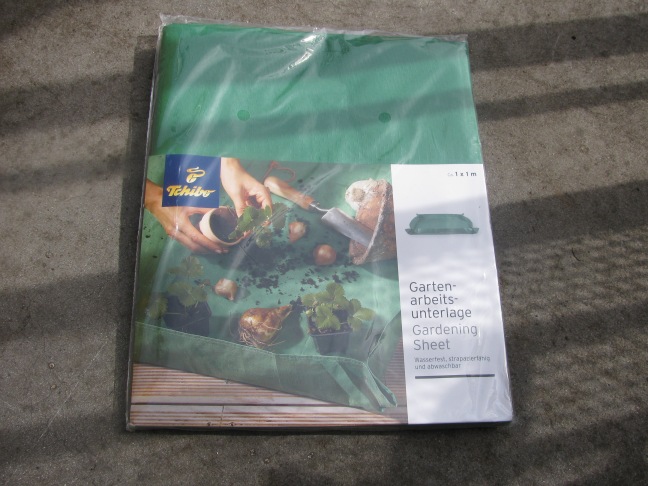
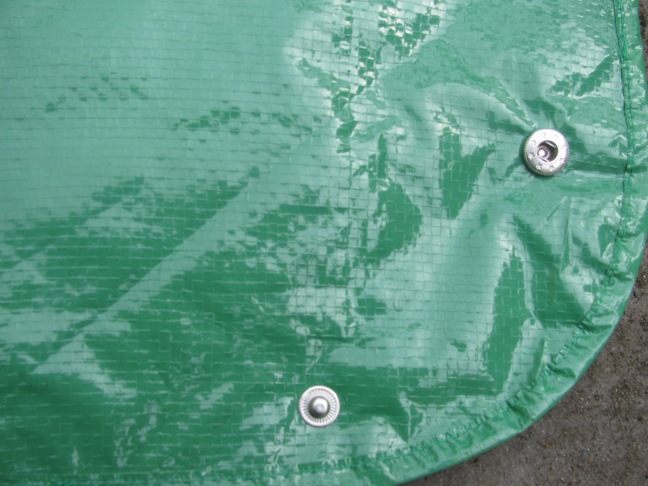
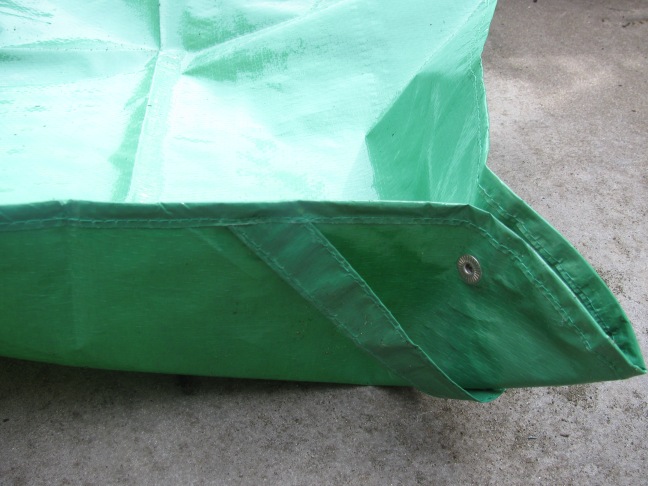
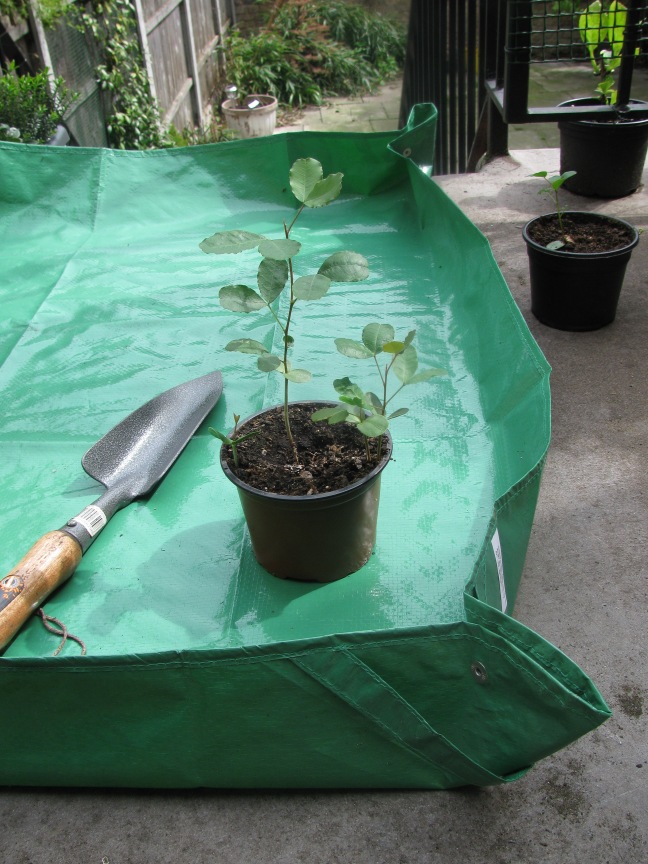
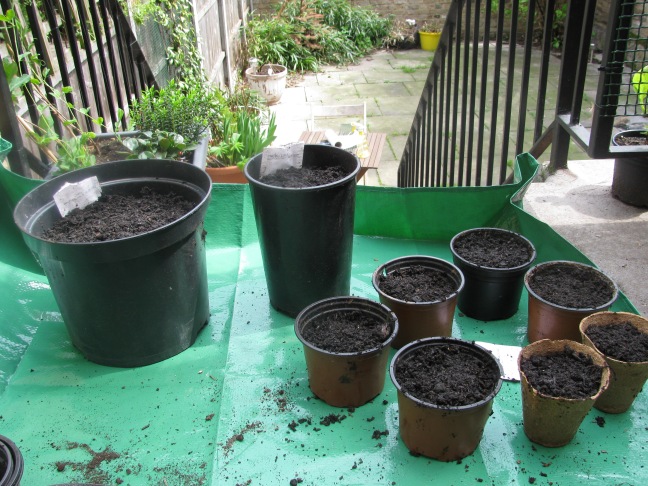
As I normally end up with a rather messy terrace when re-potting plants, today I used this new gardening sheet.

Gardening sheet

It is great and comes as a flat throw, with press studs on all four corners. You press them together and the sheet turns into a self-contained square box in which to neatly re-pot plants.

gardening sheet

gardening sheet

Carob plant on gardening sheet[Carob seedling about to be re-potted]

028[and freshly planted seeds]

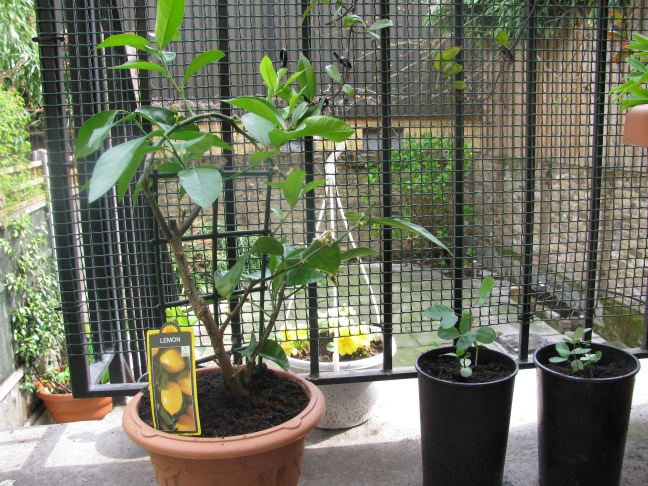
I added convolvolo, cherry tomato, bean, zinnia and cosmos seeds and finally moved the lemon plant outside.

Lemon and carob plants

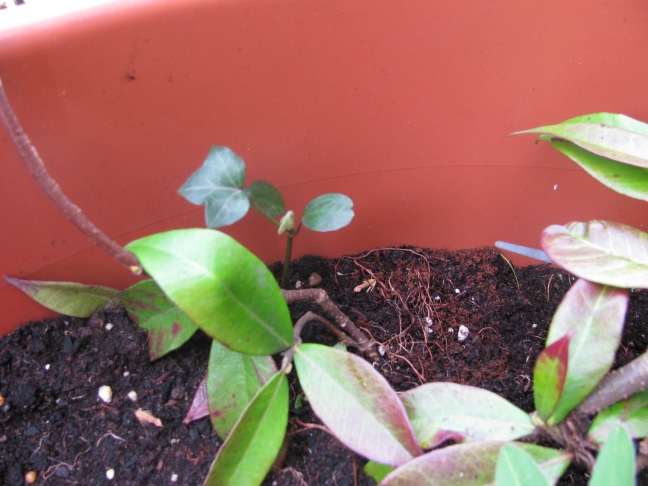
There is also a random ivy seedling that has started to grow in one of our pots on the terrace. A nice surprise!

Ivy seedling If you have read my blog for some time, you know that each year I make a point of having one flower bed that does not cost anything. So this year, we have two.
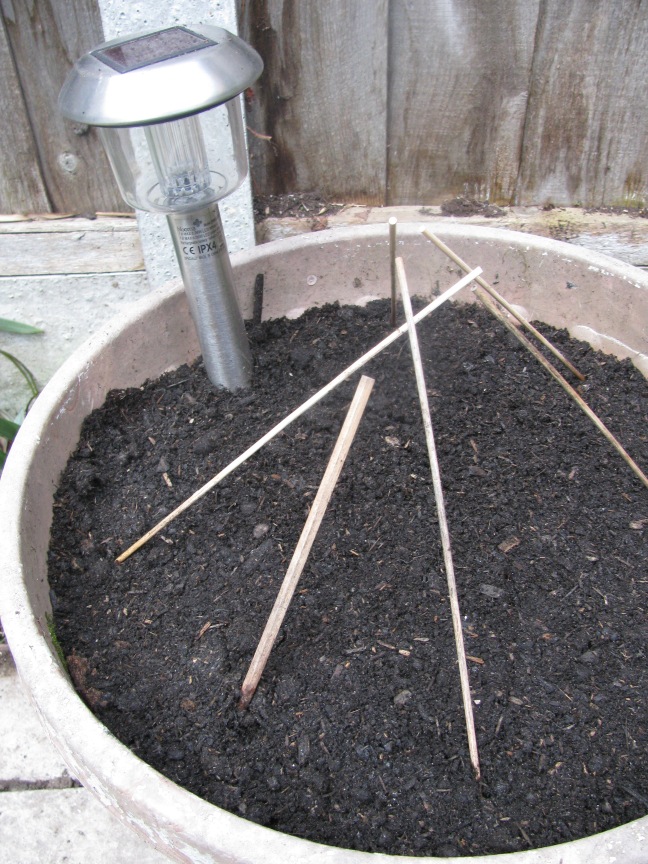
You can easily create your own, by looking around your house, garden shed or even in your neighbourhood. Many people throw pots and plants out when they move, so its fairly easy to bring some home. Recently our neighbours moved out leaving some solar-powered garden lamp and a rather unsightly pot behind. The pot is broken on one side, but filled with soil and free Freesia bulbs from the garden centre, the broken part will soon be covered by leaves.  

Freesia bulbs in a pot

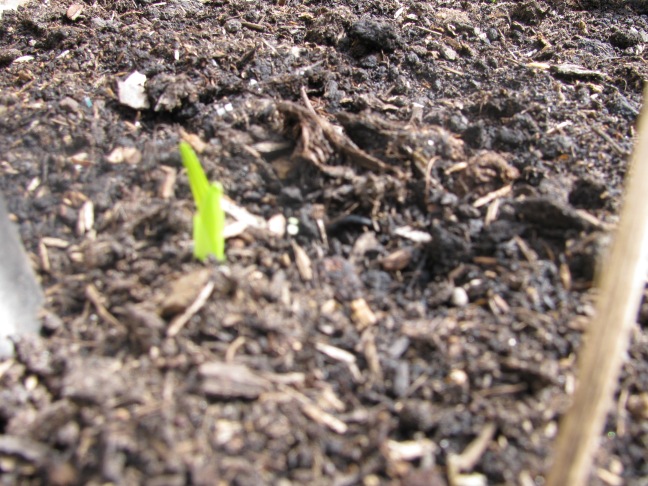
Freesia shoot

Freesia shoot

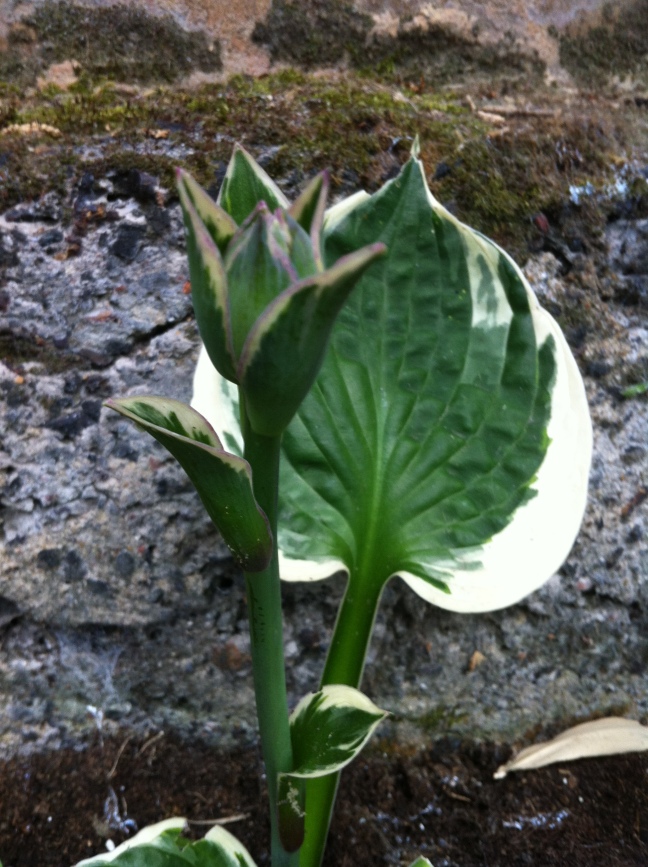
Hosta shootHosta shoot

Gardening Project – Step 3: Protecting plants against frost

It really is cold in London these days!
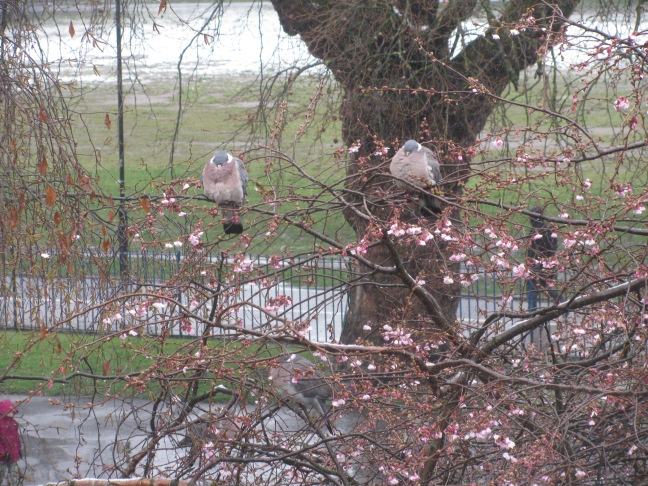
The migrating pigeons on our cherry tree, have fluffed up their feathers to the max as if they were wearing thick jackets.
I find them cute, but also feel a bit sorry for them.

Pigeons feeling cold in London

The one on the left keeps his beak and feet as much as possible under the ‘duvet’!

Pigeons feeling cold

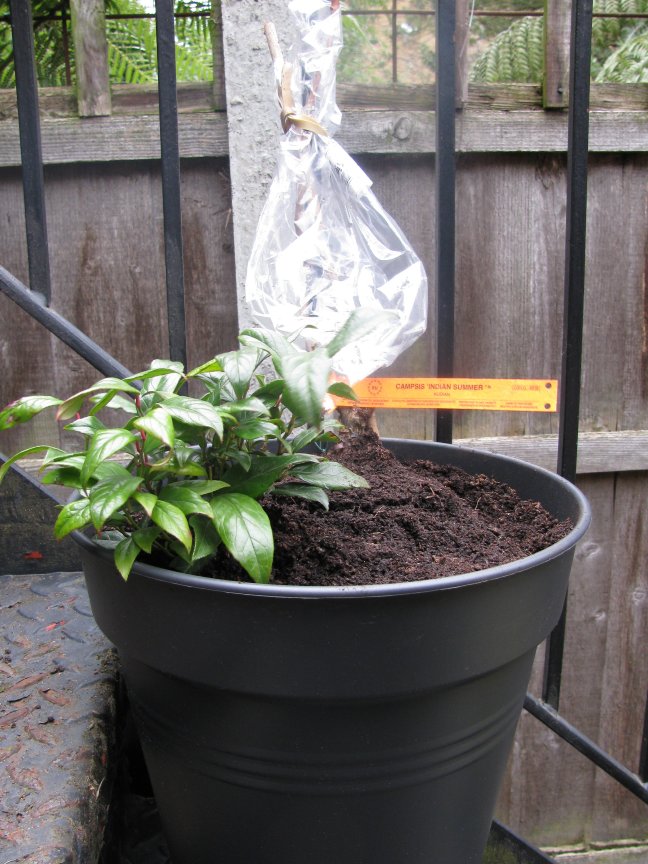
So this is the setting in which I received the climbers I ordered last week online. Immediately after unpacking, I added the Indian Summer Capsis and Honeysuckle to the pots on the staircase.

Capsis Indian Summer

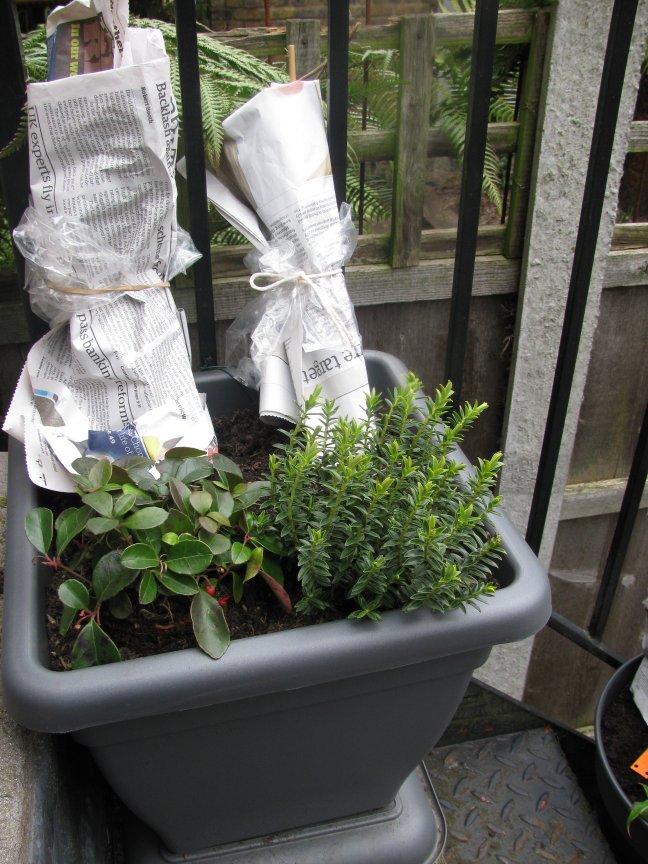
However, as frost is forecast for the next few nights, I covered the climbers with newspaper. This will keep them warm enough but still allow them to breath.

protecting plants against frost with newspaper


My low cost flower bed

Hello! Today I woke up early and worked on a small flower bed that was overgrowing with weeds.

The great thing is that before I started to add potted plants, almost nothing had been planted on purpose in our garden. The only plants that grow in the ground have deposited themselves in this flower bed. So today I removed the weeds that did not look good, and left the weeds that did. I also added some fresh soil, to create the impression that the flower bed was ‘planned’.

In reality I simply removed the weeds that looked conspicuous, and left the ones that looked pretty. At the very end I added a few sunflower seedlings and tada! my low-cost no frills flower bed was ready.

To conclude the whole experience our neighbours’ dog ‘Bruno’ came into the garden and inspected everything I’d done with interest. I hope Bruno does not step on the sunflowers, but hey, he lives here too.