Recipe: Italian Mimosa cake

Just in time for Women’s day – here is a classic recipe for the delicious Italian mimosa cake.
It is usually prepared for Women’s day on 8th of MarchDSC00686

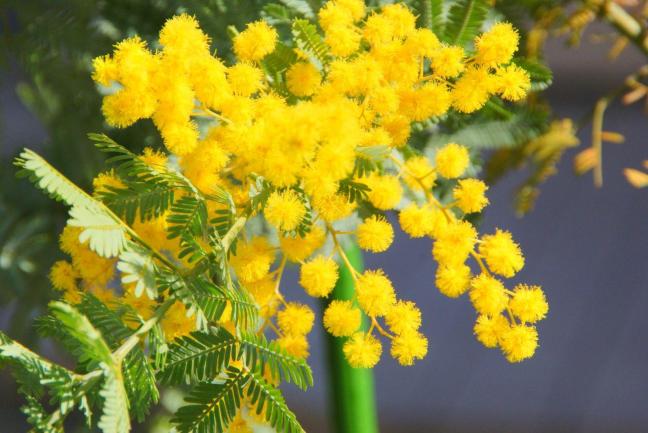
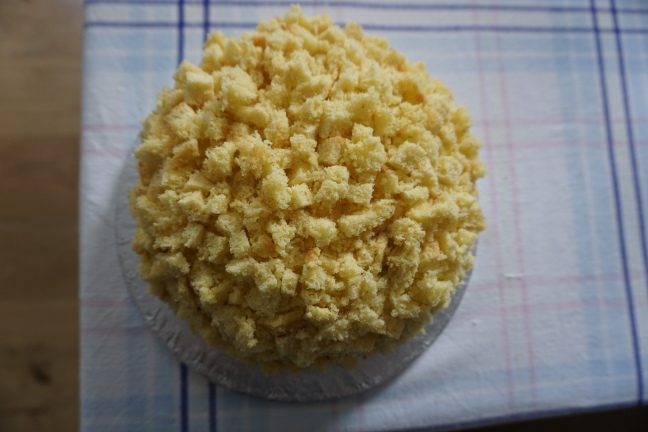
The name of the cake is due to its shape resembling the flowers of the mimonsa plant

129966558754916132358_DSC00515

Level of recipe difficulty: medium

Ingredients:
For the cake base:

  • 2 eggs
  • 4 egg yolks
  • 110 g sugar
  • 100 g flour
  • 20 g potato flour (fecola di patate – sold in Italian delis)

For the custard:

  • 150 ml milk
  • 150 ml double cream
  • 100 g sugar
  • 4 egg yolks
  • 27 g flour
  • 1 teaspoon vanilla flavour

For the dip:

  • 50 ml water
  • 1 table spoon orange blossom water
  • 25 g sugar

For the cream with sugar:

  • 100 ml double cream
  • 10 g icing sugar

Method:
First prepare the cake base:

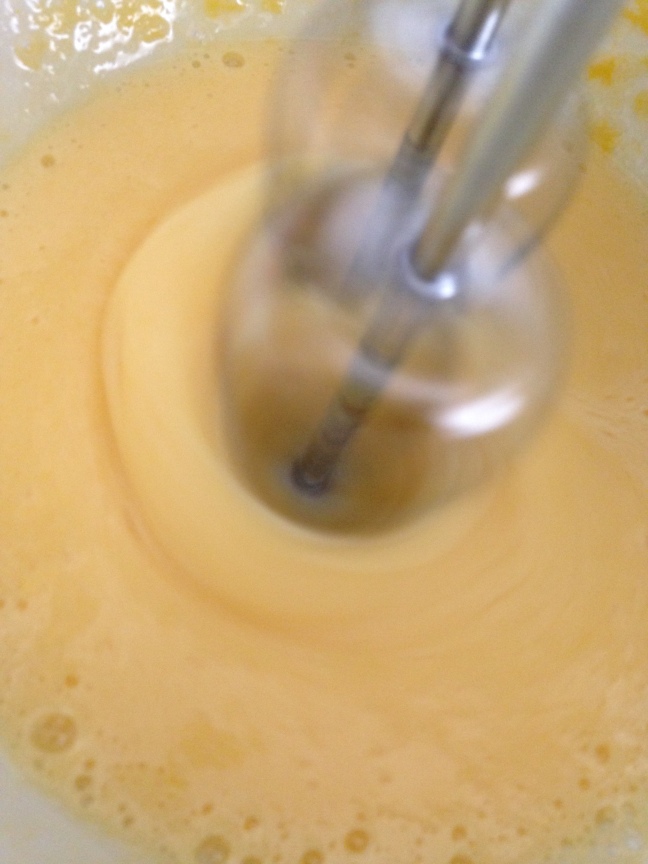
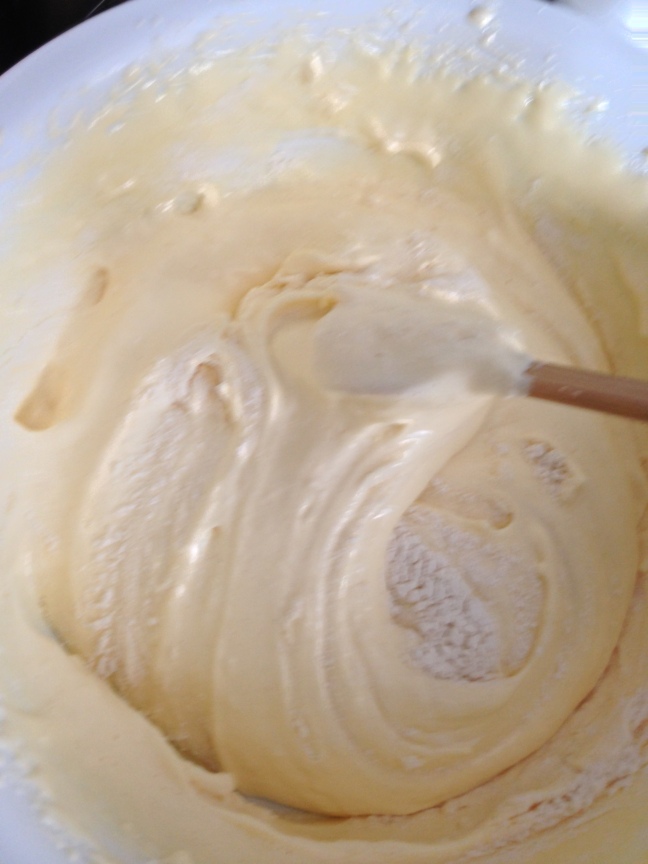
Mix the eggs and sugar in a bowl, using an electric whisk for 10 – 15 minutes at high speed. This is an important step to ensure the cake base is light and full of air bubbles.
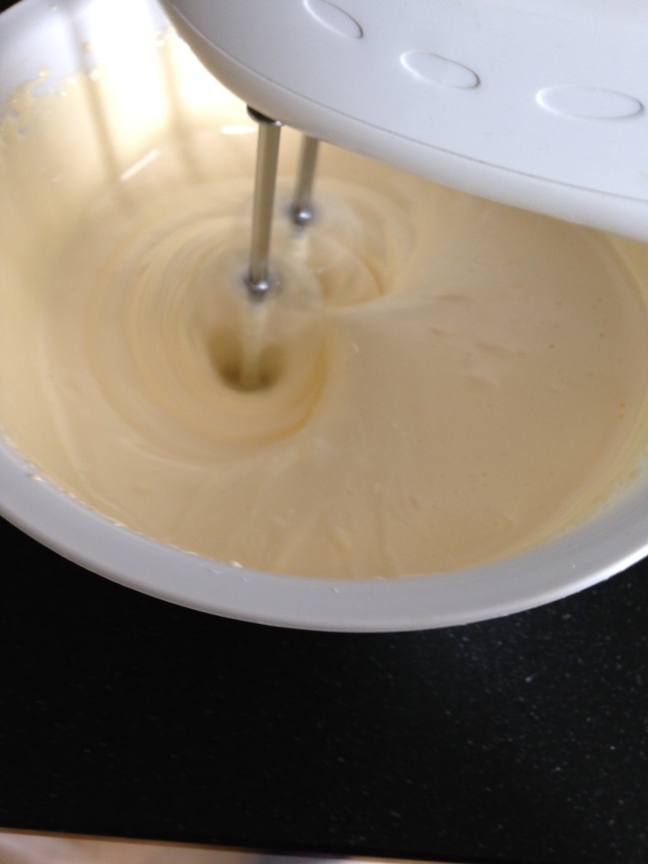
Then add the egg yolks and continue mixing for another 6 minutes. 

IMG_2642IMG_2656
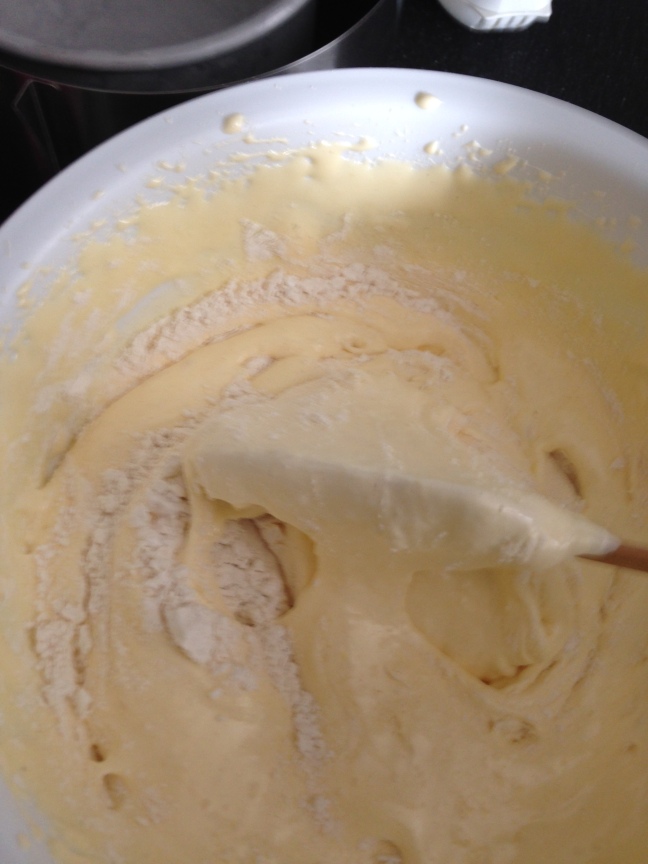
Once the eggs have been incorporated, add the flour and potato flour through a sieve, folding the flour in delicately by hand to add even more air into the mix.

IMG_2664IMG_2667Butter and flour a round baking tin, add the cake mix and bake at 180°C for circa 30 minutes. IMG_2671

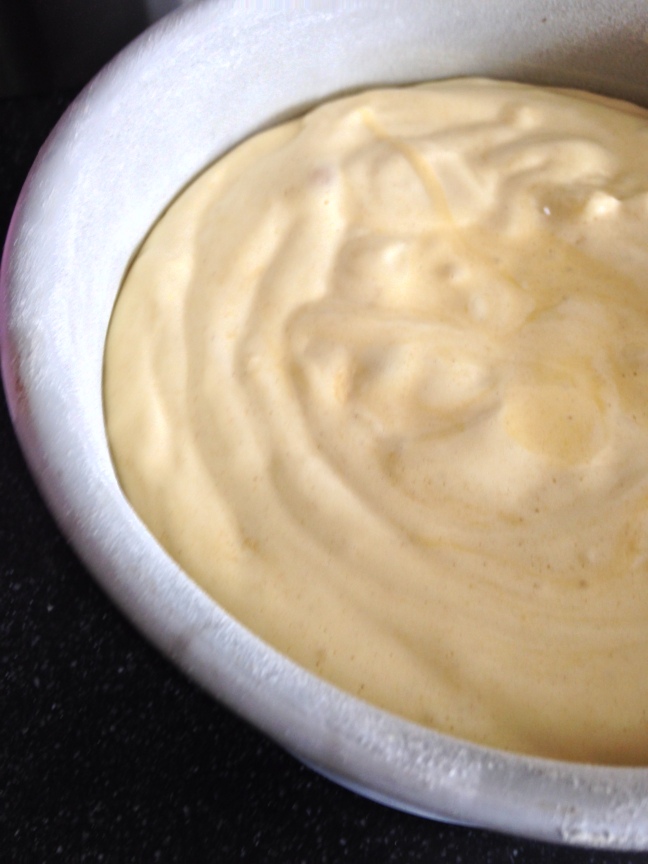
While the cake bakes, prepare the custard:
In a small pan mix the milk, double cream and vanilla flavour.
In another small pan mix the egg yolks and sugar.
Heat both pans up, stirring constantly, but do not boil.
Stir the egg and sugar mix with a wooden spoon. Then add the flour and stir it until smooth.
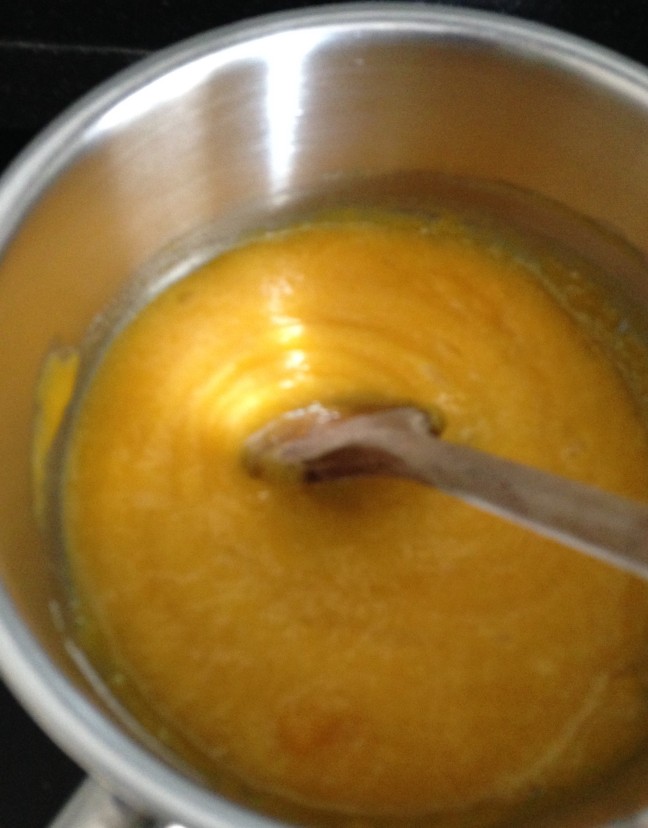
Now add the warm milk and cream into the egg-sugar-flour mix and stir at medium temperature until the custard starts to set.
Ensure the flour in the custard cooks. 
Once the custard starts to bubble, remove it from the heat and pour it into a flat pyrex ramekin.


IMG_2674
Cover the custard with cling film. The cling film needs to touch the custard. Then place it in the fridge to cool.
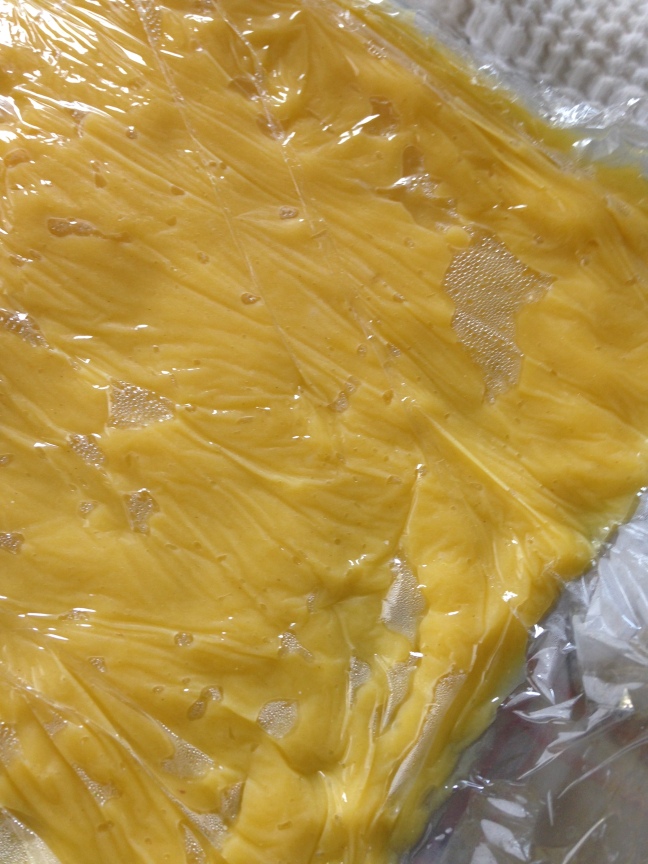
 IMG_2694

Prepare the dip:
In a small pan, mix the water, sugar and orange blossom water. Heat it up to let the sugar melt. Then put to one side to cool.

Assembling the cake: 
When the cake base is baked through and a skewer comes out clean, remove it from the oven and let it cool on a flat surface , turning the cake base upside down.


Once the cake base has cooled completely, cut off the brown crust all around the cake to reveal the yellow cake. Now cut it into half.
Then with a long-bladed knife, cut one of these cake halfs carefully into three even layers. These will form the layers of the cake.
Cut the other half of the cake base into small cubes. These will be used to decorate the top and sides of the cake.


Whip the cream and caster sugar. 
Keep two table spoons of cream to one side
Place the first cake layer on a plate or cake stand.
With a table spoon drizzle a third of the dip onto the layer. Then spread some cream on top and then some custard.
Cover with another layer of cake. and repeat.
Then cover with the third cake layer.

IMG_2700

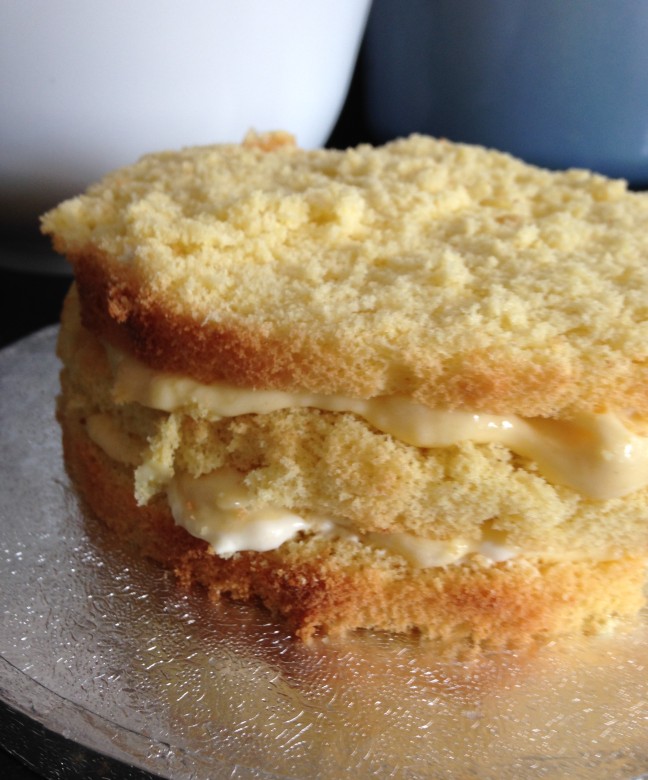
Once you have assembled the three cake layers with the dip, cream and custard, cover the entire cake with custard and do the same with the sides of the cake. 

Then cover the top and sides of the cake with the yellow cake cubes you have cut. The custard will act as ‘glue’. 

Ensure the cake is covered with cubes from all sides, place in the fridge and voilà your mimosa cake is ready!

DSC00680

DSC00686

DSC00689

129966558754916132358_DSC00515

I hope you enjoyed. Happy Women’s day!

A Hackney garden in summer – part 2

My second update on gardening progress this summer.
I finally found the best suited space for an ivy plant I had for the last four years – it is now on the terrace, facing North-East and finally doing very well:

Ivy

 I love spring and summer in London

IMG_3346

IMG_3347

In June it was time to come up with some new decoration outside the front door:

IMG_8998

IMG_9002

IMG_9004

IMG_9005

And see the runner beans grow taller

IMG_8989

Runner beans

Runner beans

Who says you can’t have a garden on a boat?

Exactly. That’s what the owners of the canal boats in London must have thought.
Along the Regents Canal in Hackney many houseboats feature small gardens on their roofs, bows and sterns. It is a delight to watch them. Some I photographed today, grow tomatoes and even sweetcorn and strawberries! I also spotted a miniature poly tunnel and a hydroponic system.
So well done to London’s urban gardeners on their boats!

Here below, you can see a small vegetable garden on a boat roof with tomatoes and squash

Garden on Canal Boat, London

Garden on Canal Boat, Regents Canal, London

The owner of the garden is growing sweetcorn, tomatoes and strawberries. There’s also the small poly tunnel I mentioned

Garden on Regents Canal Boat, London

Garden on roof of Canal Boat, Regents Canal London

 Container gardening on two other canal boats

Conatiner Gardening, Regents Canal Boat, London

The owners of this boat are even growing a sunflower on the boat! And you can see their hydroponic system on the roof

Garden on roof of canal Boat, regents Canal Hackney, London

 Some succulent plants in pots grow next to salad in a hydroponic system 

Garden on roof of Canal Boat, regents Canal, Hackney, London

Two other boats feature water butts, a selection of herbs in pots and what looks like an olive tree

Garden on Canal boat, Hackney, london

 Tree reflections in the canal

Canal boats, Regents Canal, Hackney, London

And last but definitely not least, a green canal oasis in the middle of London on the same canal (Hackney, Regents Canal)

Regents Canal, Hackney, London

 I hope you enjoyed the glimpse onto what life is like on Hackney’s Regents Canal

Gardening coffee / tea mugs

I bought myself a gift.
These wonderful garden mugs were displayed in a local deli.  After seeing them for several weeks I could not resist and bought all three – the beetroot, the carrot and the tomato mug. (Just to avoid any doubt, I bought these myself and was not paid by anyone to write this).

Garden mug

All three cups show how the plants develop from seedlings to fruit bearing plants and the months of when to SOW and HARVEST.

Garden mug

Garden Mug

The cups have now sold out at the deli here in Hackney, but I saw that you can buy them for the same price (£12 each plus delivery) on the Not on the High Street website: http://bit.ly/1n4AVB0


Autumn decoration

I thought it’d be good to show you our new autumn front door decoration. You may remember last year’s hanging basket.
This year, I found a large metal planter and decided to up-cycle it.  Having cleaned the container and found a pot that could fit into it, I spent £15 at Columbia Road Flower Market to get these plants:

491

495

The white fruit of the plant above, turn orange over time (perfect for Halloween) and then red for Christmas. 

637

The ivy is growing and the plants are easily maintained. The cyclamen have flowered for two months already.
The trick is to deadhead faded blossoms and new ones will keep developing. You can also see, the white fruit are turning orange. 

640

Our neighbour downstairs seems to like the decoration as well as she bought the same plants
matching her window ledge to my front door pot.

For Halloween, on the kitchen window I arranged two pumpkins.
Have you ever seen white pumpkins before?! I had’nt. 

728

The yellow polyanthus on the left have been flowering all year round since last autumn. Really remarkable.
Now that the weather is cooler, I moved the pumpkins inside next to the carob plants grown from seeds

732

Have you created your own autumn decoration? I’d like to know all about it!