Recipe: Italian Mimosa cake

Just in time for Women’s day – here is a classic recipe for the delicious Italian mimosa cake.
It is usually prepared for Women’s day on 8th of MarchDSC00686
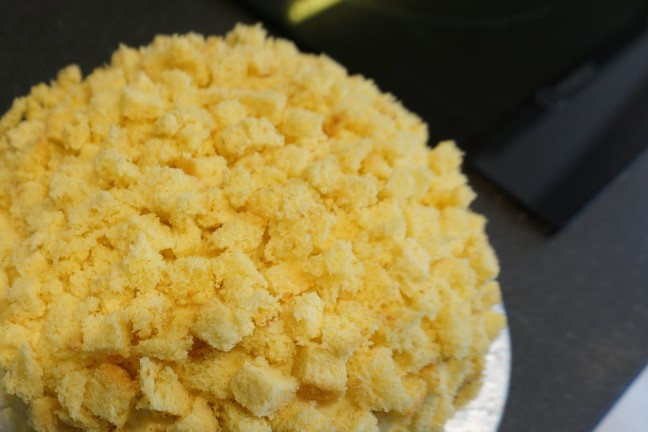
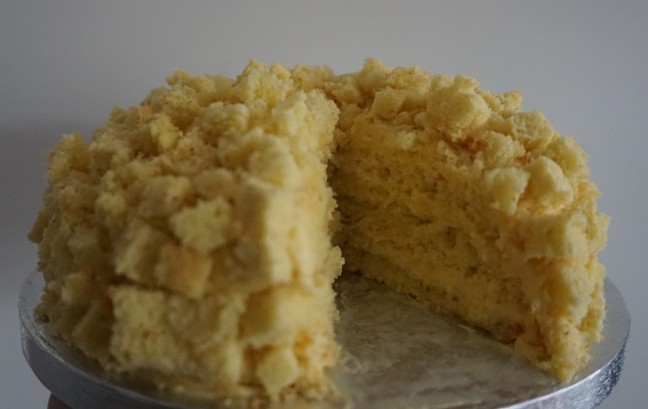
The name of the cake is due to its shape resembling the flowers of the mimonsa plant

129966558754916132358_DSC00515

Level of recipe difficulty: medium

Ingredients:
For the cake base:

  • 2 eggs
  • 4 egg yolks
  • 110 g sugar
  • 100 g flour
  • 20 g potato flour (fecola di patate – sold in Italian delis)

For the custard:

  • 150 ml milk
  • 150 ml double cream
  • 100 g sugar
  • 4 egg yolks
  • 27 g flour
  • 1 teaspoon vanilla flavour

For the dip:

  • 50 ml water
  • 1 table spoon orange blossom water
  • 25 g sugar

For the cream with sugar:

  • 100 ml double cream
  • 10 g icing sugar

Method:
First prepare the cake base:

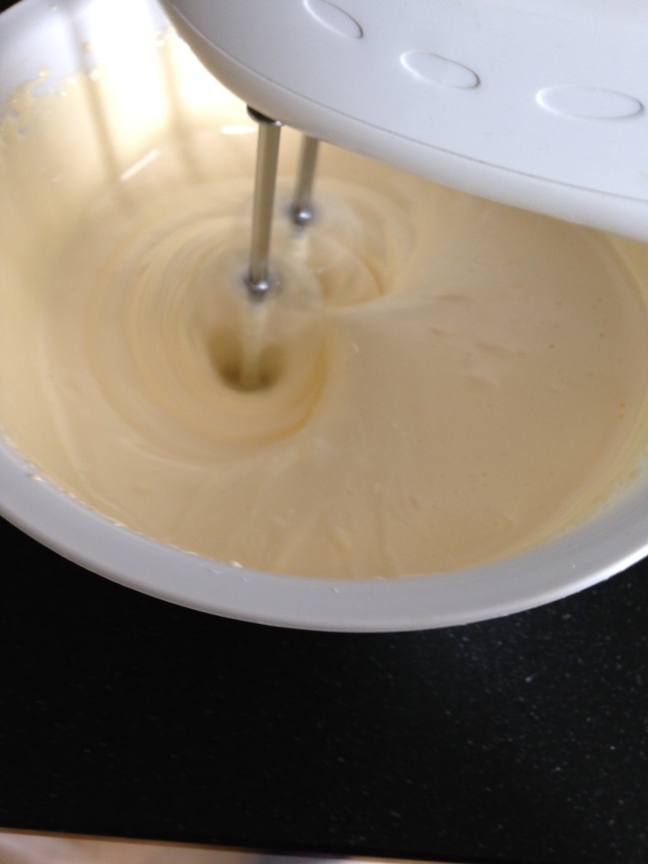
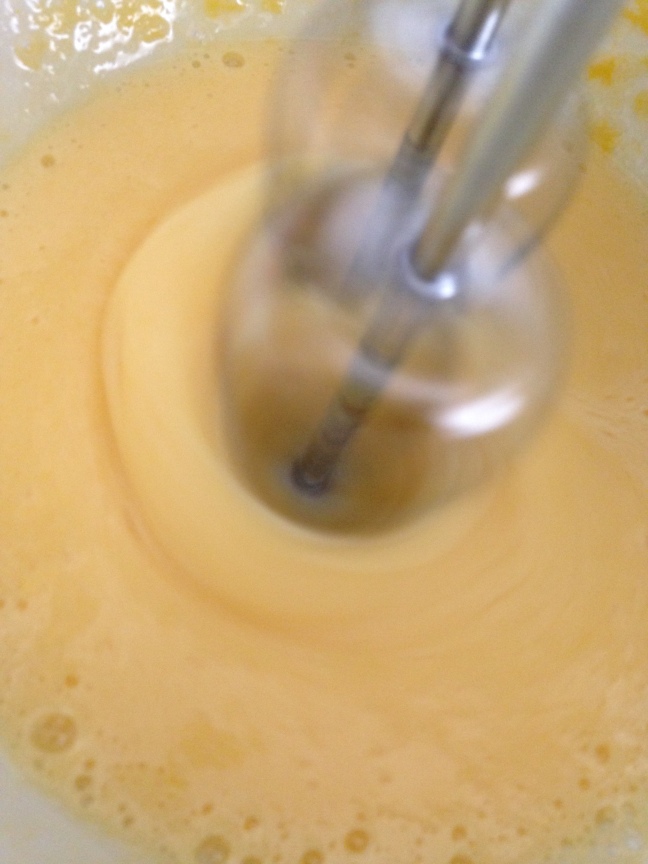
Mix the eggs and sugar in a bowl, using an electric whisk for 10 – 15 minutes at high speed. This is an important step to ensure the cake base is light and full of air bubbles.
Then add the egg yolks and continue mixing for another 6 minutes. 
IMG_2642IMG_2656Once the eggs have been incorporated, add the flour and potato flour through a sieve, folding the flour in delicately by hand to add even more air into the mix.
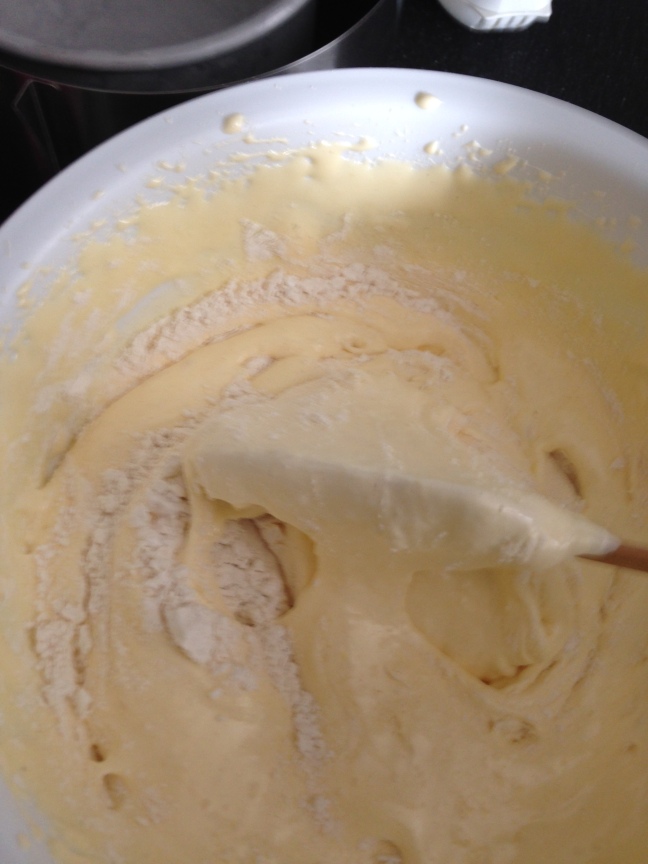
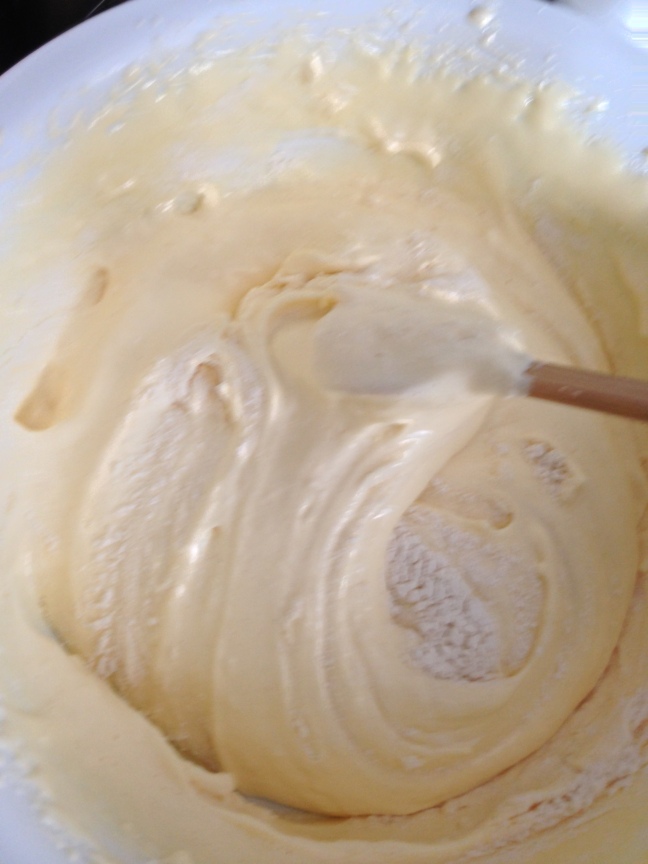
IMG_2664IMG_2667Butter and flour a round baking tin, add the cake mix and bake at 180°C for circa 30 minutes. IMG_2671
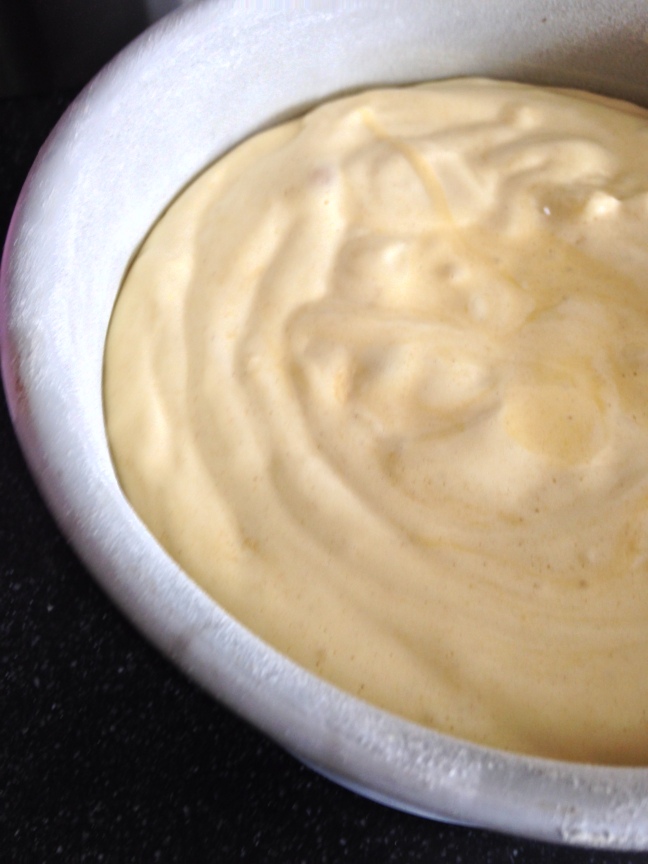
While the cake bakes, prepare the custard:
In a small pan mix the milk, double cream and vanilla flavour.
In another small pan mix the egg yolks and sugar.
Heat both pans up, stirring constantly, but do not boil.
Stir the egg and sugar mix with a wooden spoon. Then add the flour and stir it until smooth.
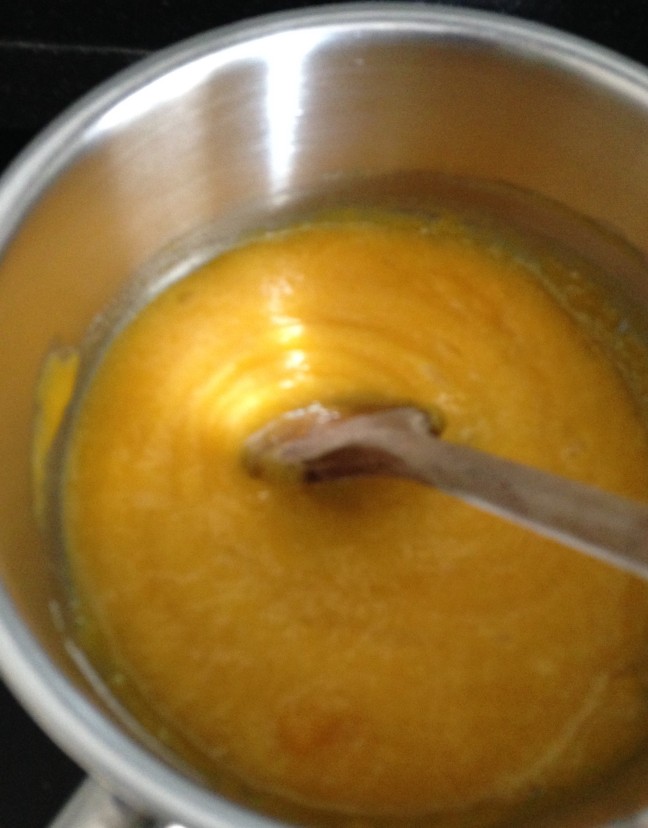
Now add the warm milk and cream into the egg-sugar-flour mix and stir at medium temperature until the custard starts to set.
Ensure the flour in the custard cooks. 
Once the custard starts to bubble, remove it from the heat and pour it into a flat pyrex ramekin.

IMG_2674
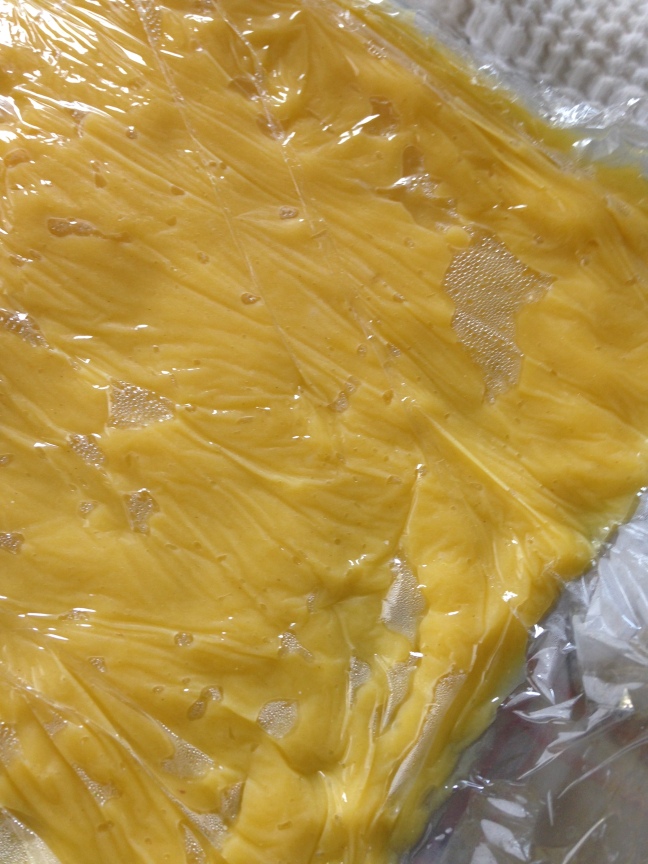
Cover the custard with cling film. The cling film needs to touch the custard. Then place it in the fridge to cool. IMG_2694
Prepare the dip:
In a small pan, mix the water, sugar and orange blossom water. Heat it up to let the sugar melt. Then put to one side to cool.

Assembling the cake: 
When the cake base is baked through and a skewer comes out clean, remove it from the oven and let it cool on a flat surface , turning the cake base upside down.


Once the cake base has cooled completely, cut off the brown crust all around the cake to reveal the yellow cake. Now cut it into half.
Then with a long-bladed knife, cut one of these cake halfs carefully into three even layers. These will form the layers of the cake.
Cut the other half of the cake base into small cubes. These will be used to decorate the top and sides of the cake.


Whip the cream and caster sugar. 
Keep two table spoons of cream to one side
Place the first cake layer on a plate or cake stand.
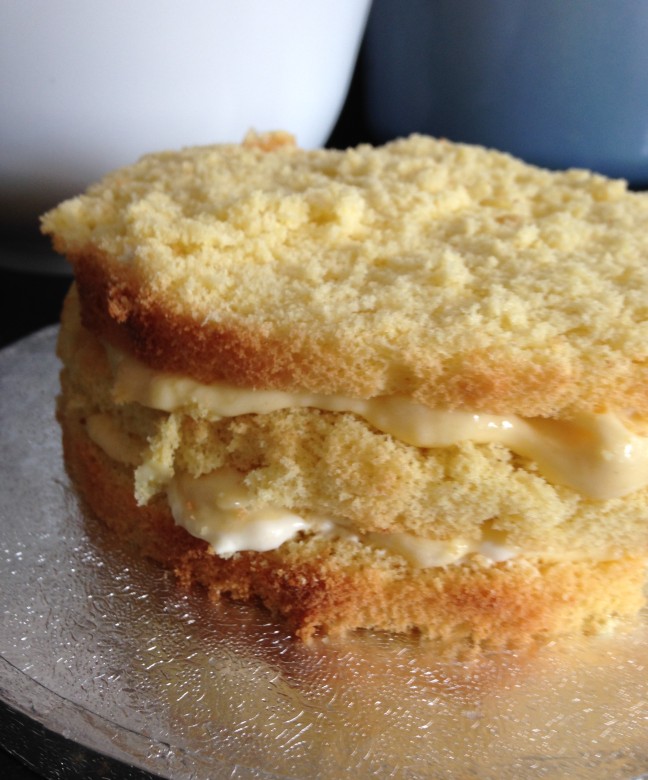
With a table spoon drizzle a third of the dip onto the layer. Then spread some cream on top and then some custard.
Cover with another layer of cake. and repeat.
Then cover with the third cake layer.
IMG_2700

Once you have assembled the three cake layers with the dip, cream and custard, cover the entire cake with custard and do the same with the sides of the cake. 

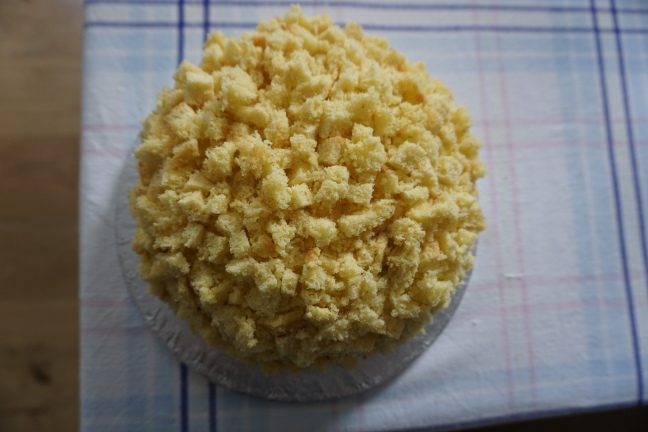
Then cover the top and sides of the cake with the yellow cake cubes you have cut. The custard will act as ‘glue’. 

Ensure the cake is covered with cubes from all sides, place in the fridge and voilà your mimosa cake is ready!
DSC00680

DSC00686

DSC00689

129966558754916132358_DSC00515

I hope you enjoyed. Happy Women’s day!

Recipe: New York Cheese Cake

(Recipe by Michel Roux)
Mmmmh, this cake is perfect for autumn, served with a cappuccino or coffee, accompanied by your favourite read.
Here’s how to prepare it:

New York Cheese Cake

IMG_0014

Ingredients: 

For the Base:

  • 33 g melted butter, plus 10 g to grease
  • 125 g digestive biscuits

For the Filling:

  • 500 g cream cheese, softened
  • 1 tbsp milk
  • 175 g caster sugar
  • 18 g plain flour
  • Very finely grated zest of 1/2 orange
  • Very finely grated zest of 1/2 lemon
  • 3 eggs
  • 1 egg yolk
  • 1/2 vanilla pot split lengthways

Method:
Preheat the oven to 180°C.

Butter a 22 cm cake tin and place it onto a baking sheet.
Using a pestle and mortar crush the biscuits into fine crumbs, then transfer them to a bowl and add the melted butter. Mix thoroughly.
Pour the biscuit mixture into the cake tin and spread it into a uniform layer, pressing it firmly and evenly.
Bake the base for 12 minutes until firm, then set aside to cool, still keeping the tin on the baking sheet.

Increase the oven setting to 220°C.
Use an electric mixer to beat the cream cheese, milk, sugar, flour and grated citrus zests into an even, smooth, light and creamy mixture.
On a low speed, incorporate the eggs one at a time, followed by the egg yolks.
Scrape the vanilla seeds from the pod into the mixture.
Scrape the sides of the bowl several times to ensure the filling is homogeneous.
Pour the filling over the biscuit base and bake for 12 minutes, then lower the oven setting to 100°C and cook for a further 1 hour until set but still slightly wobbly at the centre.
Turn the oven off, leaving the cheese cake inside the oven with the door slightly a jar for 1 hour to cool slowly.

Transfer the cake in its tin to a wire rack to cool completely, then refrigerate for at least 6 hours before serving.

Carefully cut the cake into slices using a very sharp knife dipped in hot water between each cut.

Bon Appétit! 

New York Cheese Cake


Italian Recipe – Sicilian almond paste / pasta reale biscuits

Sicilian pasta reale biscuits

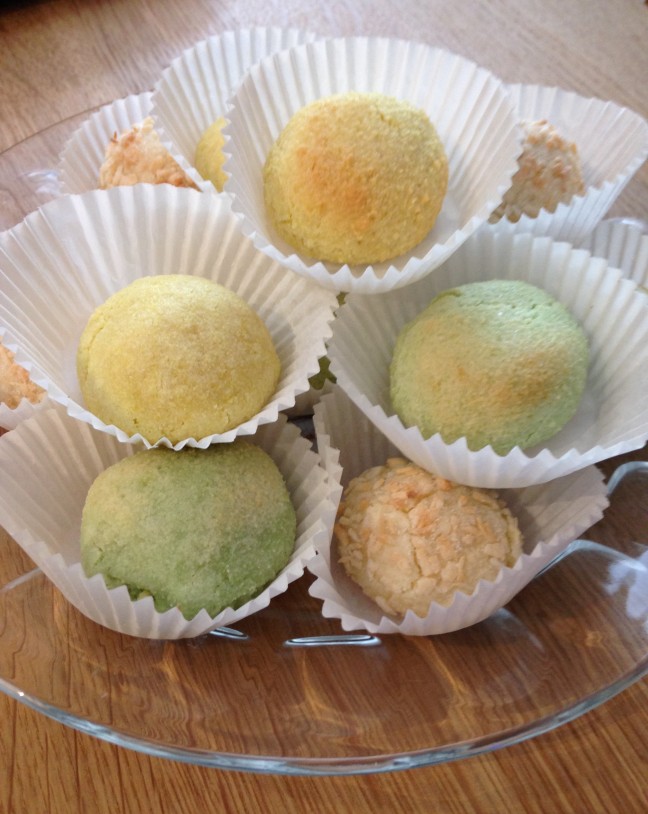
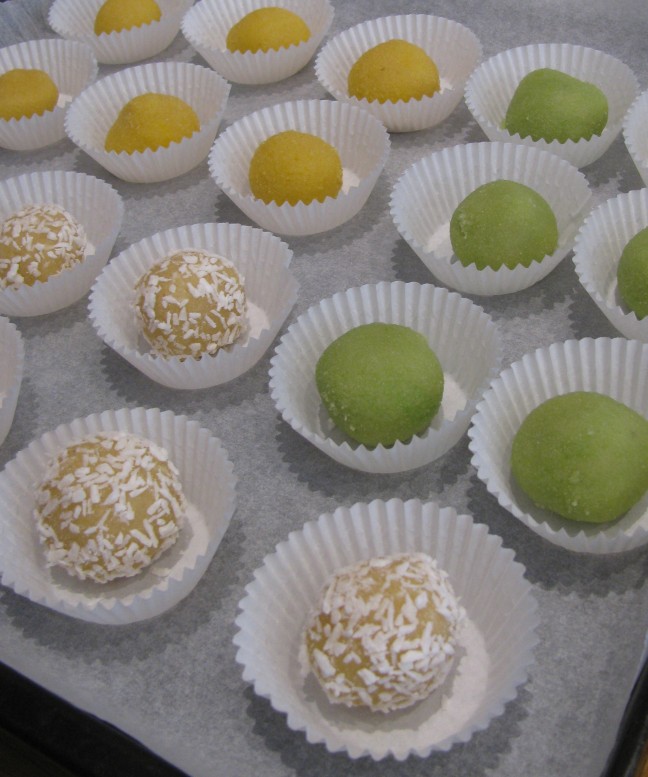
These delicious almond paste biscuits follow an original Sicilian recipe. Note, they are very sweet, however taste heavenly and can be baked in many colours and flavours. Here I chose to bake vanilla, pistachio and coconut flavoured biscuits (recipe below):

IMG_0022

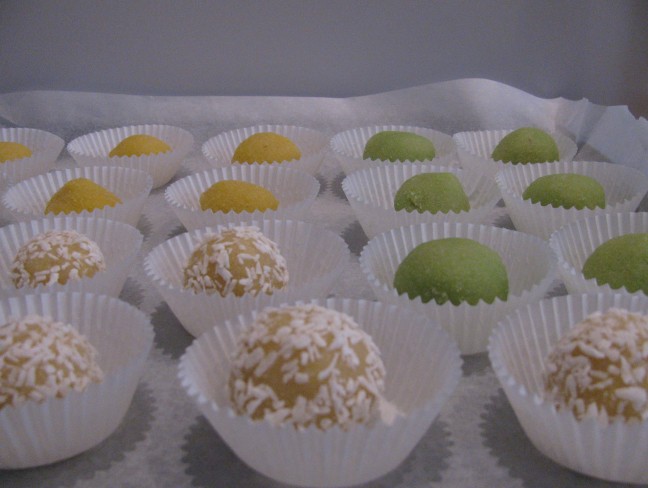
All lined up, before placing them in the oven:

Sicilian pasta reale biscuits

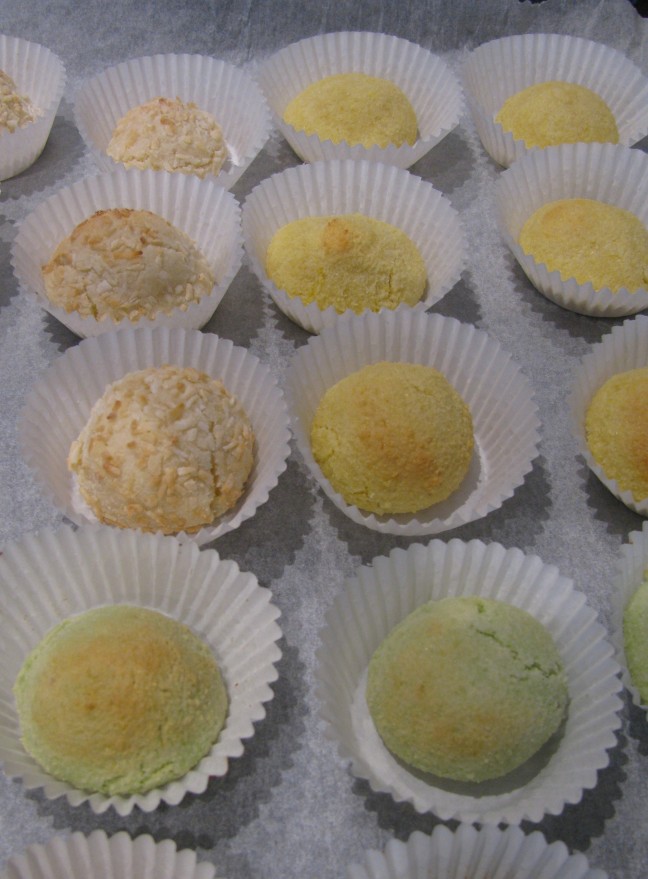
After an 8 – 12 minute baking time: 

Sicilian pasta reale biscuits

Sicilian pasta reale biscuits

Recipe:

Ingredients (for 3 people)

  • 325 g caster sugar
  • 280 g ground almonds
  • zest of 1 1/2 lemons
  • 3 egg whites

Method

In a bowl, combine the sugar ground almonds.

IMG_0001

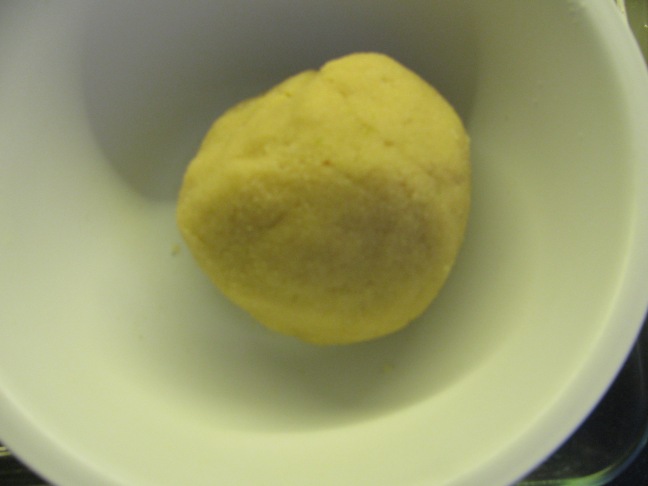
Add lemon zest, egg whites and mix by hand until you obtain a smooth paste that has the consistency of marzipan.

IMG_0002

Cover and put aside for one hour. 

Preheat the oven to 165°C.

Knead the paste working very quickly, as it warms up rapidly and then turns sticky.
Separate the paste into as many parts as flavours that you have chosen to give them. Add the desired flavour and, if you like, some food colouring.

For vanilla biscuits: Add transparent vanilla flavouring and (if desired) yellow food colouring.

For pistachio biscuits: Add pistachio flavouring and green food colour.

For coconut biscuits: Add a little desiccated coconut into the paste, roll it into small spheres and then dust these with some more desiccated coconut.

When all shapes are ready, bake the biscuits at 165°C for between 8 to 15 minutes, depending on your oven.

Recipe – Home-made Lemonade

Home-made Lemonade Recipe:
Ideal for hot summer days, this recipe is super easy. Just bear in mind you’ll need to leave it standing over night, so not a recipe for impromptu lemonade production:

Ingredients: 

  • Lemon press
  • 3 large lemons 
  • 75 g sugar
  • 700 ml boiling water
  • Fresh mint leaves

Method:

Scrub the lemons in warm water, then remove a very thin layer of zest from two of them using a potato peeler. Ensure you don’t include the white part of the zest, as this will make the lemonade bitter.
Place the zest in a large pan.

Lemon zest

Add the pressed lemon juice and the sugar.

IMG_9864

lemon zest and lemon juice
IMG_9870

Now add 700 ml of boiling water:

IMG_9875

Stir well, cover and leave overnight in a cool place.

The following day:
Stir again and taste to adjust the sweetness if necessary by adding more sugar.
Strain the liquid through a coarse sieve, fill it into a bottle or jug, then chill in the fridge. 
Serve straight or diluted with sparkling water, ice cubes and mint leaves.

Italian Lemon Polenta Cake Recipe

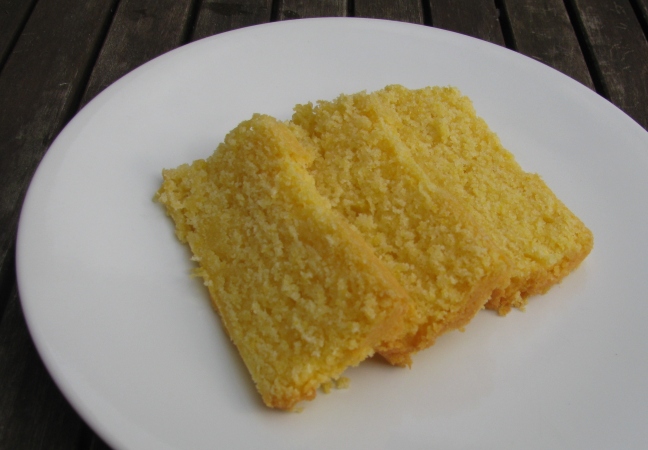
The recipe for this fluffy, incredibly yellow cake is part of my go-to recipes and I hope you try it out.  

Lemon Polenta Cake

The vibrant colour comes from the polenta and eggs and the cake is ideal for summer as it’s fresh and light.
If you prefer, you can use oranges instead of lemons.

Ingredients

• 125g unsalted butter
• 125g caster sugar
• 2 large eggs
• 70g polenta bramata
• 100g plain flour
• 1tsp baking powder
• the zest and juice of two lemons (or two oranges)

Method

Heat the oven to 160C.
Grease a loaf shaped baking tin with butter, then coat it with plain flour.
Mix the butter and sugar with an electric whisk, then add the eggs one at a time and amalgamate well.
Now add all the remaining ingredients.

Lemon Polenta Cake
Pour the mixture into the baking tray and cook for ca 45 minutes, or until a wooden skewer comes out clean.

Buon appetito!

Lemon Polenta Cake


How to make Elderflower Cordial

Elderflower blossom

A delicious and easy Elderflower Cordial recipe

Ingredients:

  • 30 fresh Elderflower heads with trimmed stalks (it’s best to pick blossoms that don’t grow near a motorway)
  • 2 unwaxed lemons, zest grated and fruit cut into rounds
  • 1.5 kg granulated sugar
  • 85g citric acid
  • 1.5 litres of water
  • sterilized glass bottles with a firm lid

Method:

Place the sugar into a large sauce pan, add the water and heat up until the sugar dissolves, without bringing it to the boil.
Once the sugar has dissolved, bring the liquid to the boil, then switch off the heat.
Add the grated lemon zest, elderflower blossoms, lemon rounds and citric acid.
Cover with a clean cloth and leave to infuse for 48 hours.

Place a fresh, finely woven tea towel over a colander and pour the syrup through it into a pan.
With a funnel, fill the sterilized bottles, seal and store in a cool dry place.
The cordial is great with both still or sparkling water. Once opened, store it in the fridge.


Beetroot chocolate brownie recipe

One could argue that this year’s Christmas desert recipe is slightly similar to the one from last year. Hence, for those of you who are keen to try something equally nice but very different, I’ve added this beetroot chocolate recipe from the BBC Good Food website which I tried some weeks ago. 

Foto credit: Plantmenow.co.uk

Ingredients
250 g whole beetroot (you can buy it pre-cooked and vacuum packed in the vegetable section of many supermarkets)
50 g unsalted butter
70 g plain chocolate (70% cocoa)
1 tsp vanilla extract
125 g caster sugar
1 egg
50 g plain flour
10 g cocoa powder

Method
Boil the beetroot in the vacuum sealed bag as per package instructions until tender.
Butter a small roasting tin and heat the oven to 180°C / Gas mark 4.
Cut the chocolate and butter into rough cubes.
Drain the beetroot into a sieve and place into a food processor with the butter, chocolate and vanilla. The latter will melt when in contact with the hot beetroot. Blend until the mix is smooth.

In a separate bowl, whisk the eggs and sugar into a thick and pale foam for about 2 minutes. Spoon the beetroot mix into the bowl and fold it under the whisked egg mix using a metal spoon.
Sift in the flour and cocoa powder and gently fold under.
Now pour the mixture into the baking tin and bake for 25 minutes or until a skewer comes out clean.
Cool completely, then cut into squares.

Bon Appétit!

Beetroot chocolate brownies

Lemon self-saucing pudding desert recipe

Merry Christmas and Happy New Year! 

It is a tradition for me to share a desert recipe during the Christmas holidays.
This year, it is a Lemon self-saucing pudding by Michel Roux.
You are still in time to try it for New Year’s eve! It is very simple to make and delicious.
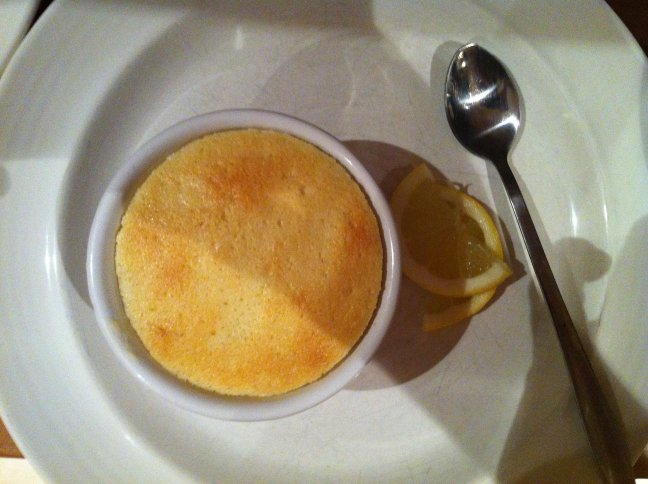
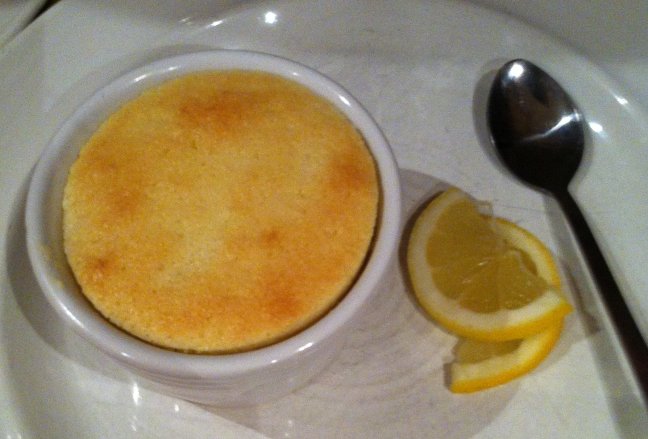
The top is light and spongy, underneath there is a liquid lemony sauce. 

Lemon self-saucing pudding

Ingredients (serves 6)
45 g butter, plus some to grease
210 g caster sugar
finely grated zest of 1 lemon
juice of 1 1/2 lemons
2 eggs separated
3 tbs self-raising flour
300 ml milk

Preparation
Preheat the oven to 160°C /Gas mark 3.
Butter 6 round ovenproof ramekins.
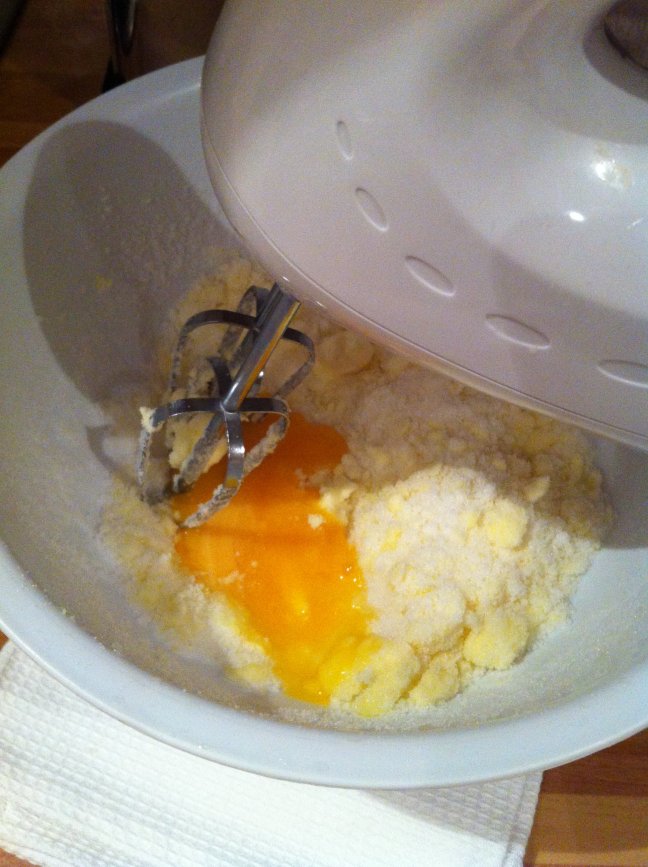
In a bowl mix the butter, 190 g of the sugar and the lemon chest with a hand mixer for one minute.
Add the egg yolks and beat until the mixture is smooth.

beating butter, sugar and eggs

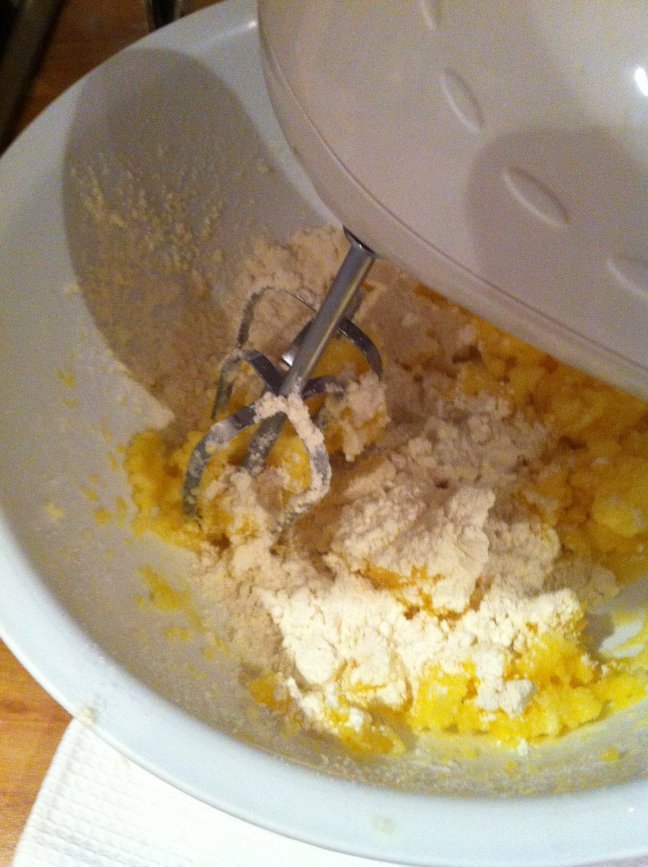
Slowly add the flour and milk until the mixture is homogeneous, then add the lemon juice. At this point the mixture will become very liquid.

Beating butter, sugar, eggs, lemon zest, self-raising flour

In a separate bowl, whisk the egg whites, then add the remaining sugar.
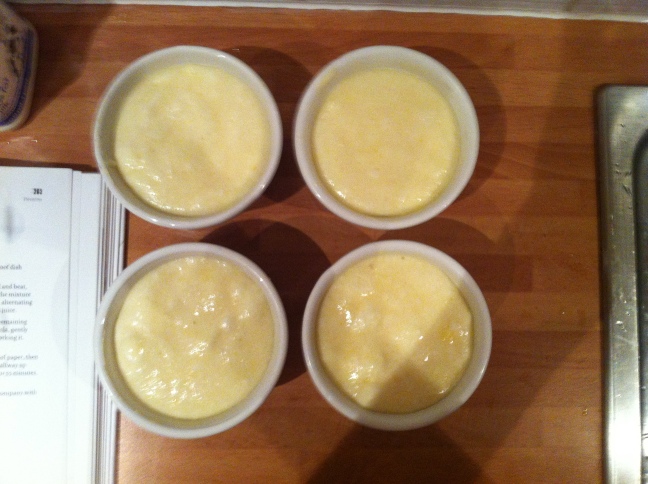
Using a spatula fold the egg whites into the pudding mixture without losing the fluffiness.

Lemon self-saucing puddings
Pour the mixture into the ramekins and place them into an ovenproof Pyrex glass dish or roasting tray, pour hot water into the tray to cover the dishes half way up. Transfer this into the oven and cook for 55 minutes until the puddings have risen and have golden tops.
Before serving, leave the puddings to stand for 10 minutes. This ensures the liquid at the bottom sets to a perfect consistency.
Accompany with pouring cream (optional) and lemon slices as decoration.

Lemon self-saucing pudding


Merry Christmas everyone!

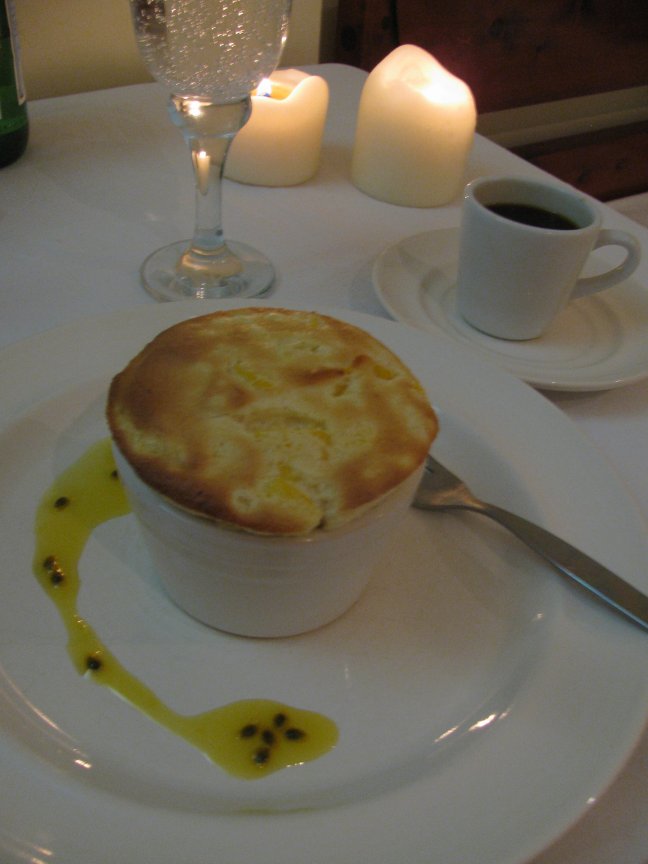
Here is the vanilla and mango soufflé with passion fruit coulis
I made yesterday as part of our Christmas Eve menu.
The recipe is from Michel Roux‘s cookbook The Collection (Quadrille Publishing) and easily serves four.
003
Ingredients:
For the ramekins:
• 20g butter, softened, to grease
• 20g caster sugar, to coat

For the pastry cream:
• 175 ml milk
• 35g caster sugar
• 1/2 vanilla pod, split lengthways
• 3 medium egg yolks
• 25g plain flour

For the soufflés:
• 4 medium egg whites
• 40g caster sugar
• 1/2 very ripe mango, about 200g, peeled, stoned and finely diced

For the passion fruit coulis:
• 15g caster sugar
• the juice of 1 orange
• 1 passion fruit, halved

Preparation:
Butter four individual 10cm soufflé ramekins and coat the inside with sugar, by turning the ramekins at an angle, rotating them until the inside is entirely covered.

For the coulis, mix the sugar and the orange juice in a small pan over medium heat, then  boil until reduced by one-third. Pour into a bowl and allow to cool. Scrape the passion fruit seeds into the cold syrup and place to one side.

For the pastry cream, put the milk and 20g sugar in a small pan, add the vanilla pod seeds and slowly bring to the boil.
Whisk the egg yolks and remaining sugar in a bowl until they reach a ribbon consistency (when you lift the spoon from the bowl, the pastry should be thick and glide off the spoon slowly).
Now incorporate the flour.
Pour the hot milk onto the yolks and stir continuously with a whisk.
Return to the pan and whisk over a low heat for one minute, then pour into a bowl, cover and let it cool slightly.

Preheat the oven to 200°C/Gas mark 6 with a baking tray inside.
Beat the egg whites to a thick foam, add 40g sugar and continue to beat until the mixture forms soft peaks.
Fold one-third into the pastry cream using a whisk, then delicately fold in the rest with a large spoon, scattering in the diced mango.

Fill the four ramekins with the mixture up to the rim. Place onto the hot baking tray and cook for 8 minutes.
Don’t open the oven while the soufflés are baking so they won’t collapse.

Serve the soufflés as soon as they come out of the oven with the coulis as accompaniment. Invite your guests to make a small well into the soufflés and pour a bit of coulis into the middle.

Bon appétit and happy celebrations!

Italian filled artichoke recipe from the Lake Garda region

This family recipe has been passed through generations until it reached me. It comes from the Lake Garda region and I hope you try it out.
Ingredients (per person)
•  1 large globe artichoke
•  50g /1¾oz breadcrumbs
•  20g/ ¾oz finely grated Parmesan
•  finely chopped parsley
•  a pinch of salt (not too much as the Parmesan is already salty)
•  freshly ground black pepper
•  2 pressed garlic cloves
•  extra virgin olive oil

Method
Wash the artichoke, cut off the stem and slice off the top third of the artichoke with a knife.

In a bowl, mix together the breadcrumbs, parmesan, chopped parsley, salt, pepper and pressed garlic cloves.
Then slowly add the olive oil trickling it into the bowl, until you have a lightly brown, unctuous mixture.

With a teaspoon, fill the mixture into the space at the base of each leaf, starting from the outside working towards the centre. Artichokes can be a bit sturdy, so you might need to apply some force at the beginning to create space between the leaves to spoon in the mixture.

Now that the artichoke is filled, prepare a pan with ca. 5cm (2 inches) of water, add a pinch of salt and place the artichoke into the pan. Also add the stem, which can be eaten too. The water should just come up to half the height of the artichoke.
Bring the water to the boil, then lower the heat, cover with a lid and simmer for ca. 30 – 40 minutes. The artichoke is ready when you can pull a leaf from the outside without resistance.

If you like, you can then put the artichoke into the oven for 3 to 4 minutes, to achieve browned tops and dry the mixture if necessary, but it can also be eaten right after the 30-40 minutes of cooking on the hob.

To eat the artichoke, start from the outside, remove each leaf with your fingers and eat them using your hands. You can eat the bottom two-thirds of the leaf and the filling. The further inside the artichoke, the more of each leaf is edible, as the inner leaves are softer than the ones on the outside.

Then you will reach the artichoke heart (or ‘fond’), which as you can see in the picture below, contains the ‘choke’ which resembles hay (and should not be eaten).

Remove the artichoke hay with a spoon and eat the whole artichoke heart that remains. The fond can be eaten plain, or dressed with a little olive oil.

P.s. while eating, your hands will be covered in food, so best to have a bowl of water ready on the table with disposable napkins. Happy cooking!