November – a good month to plant tulips

Tulips can be planted from October to early December.
Here are a few tips:

  • plant tulips 12-15 cm apart and about two and a half times the bulb’s depth
  • ensure the tip is facing upwards. If you are unsure, plant the bulb on its side
  • tulips like warm, sunny spots with good drainage
  • look out for squirrels who love digging for tulips. A well secured, sturdy plastic net will protect the bulbs until the first leaves develop, when the net can be removed.

A brilliant visual guide from Thompson & Morgan on the right planting depth for bulbs:

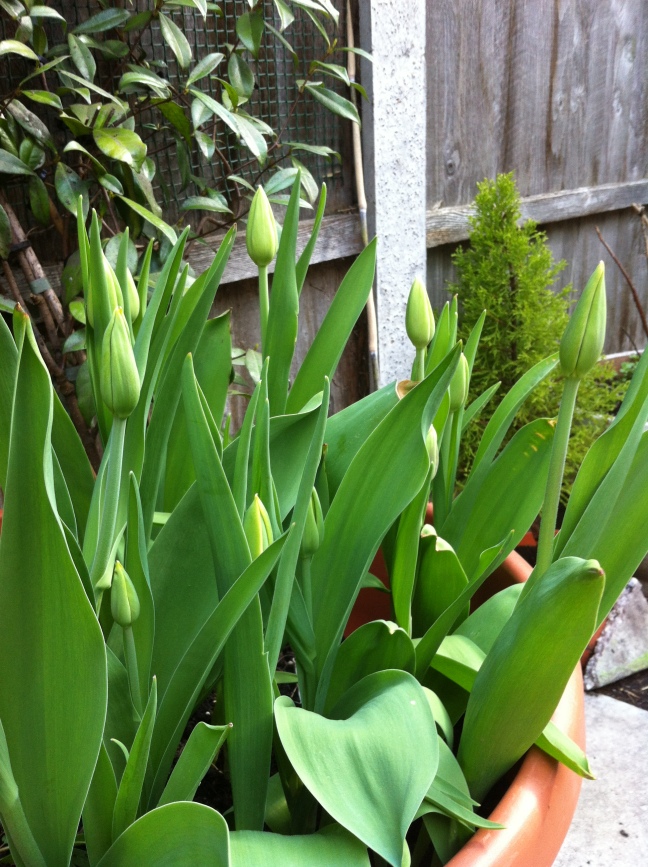
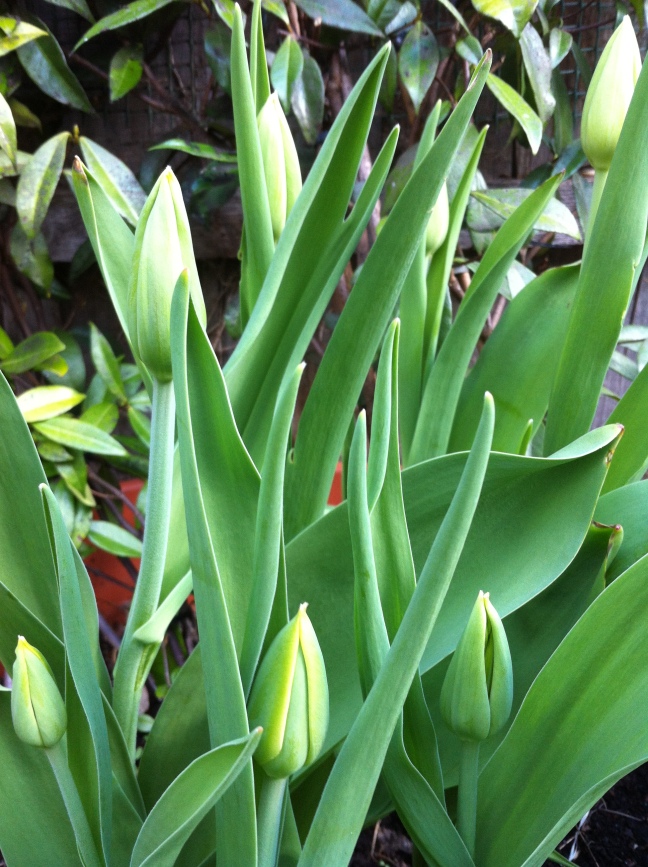
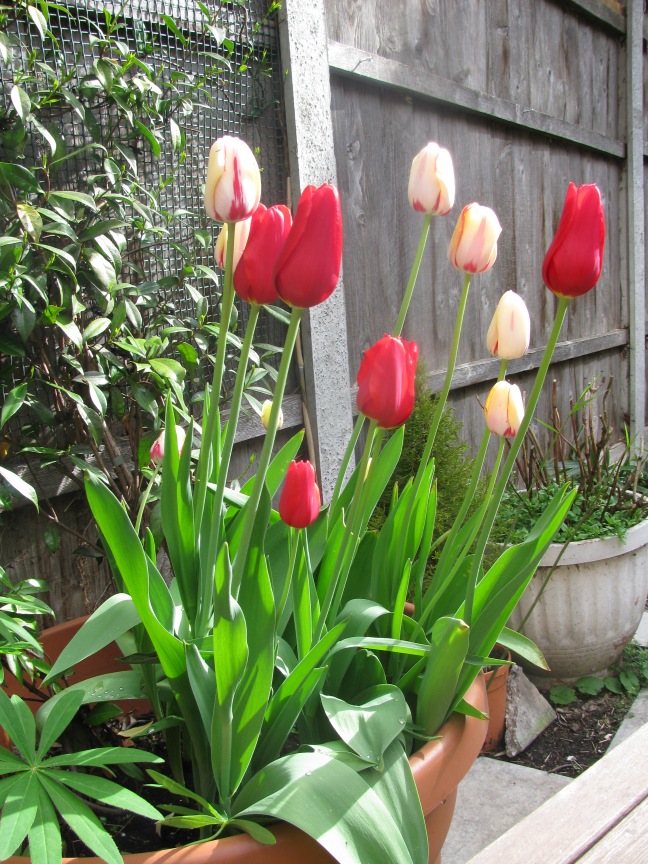
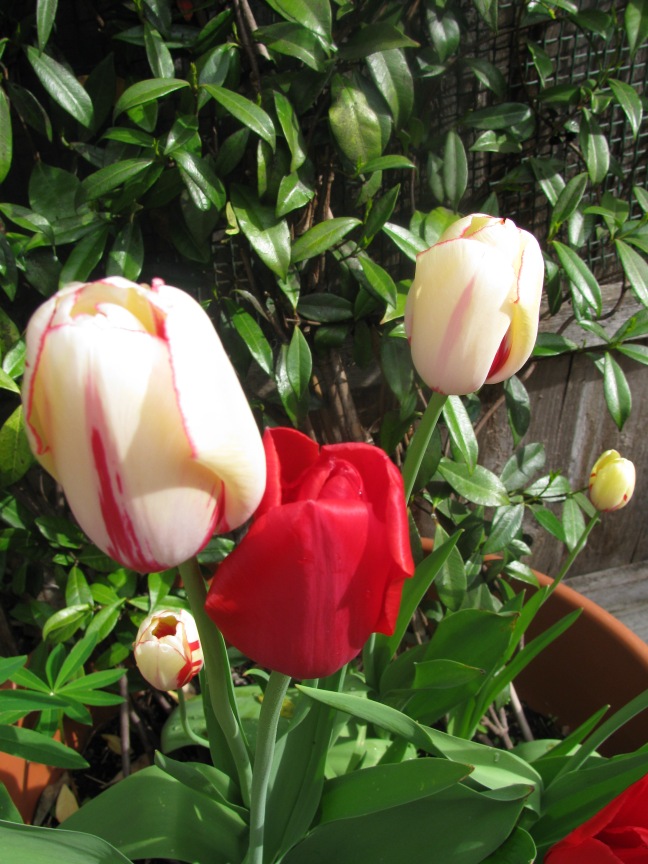
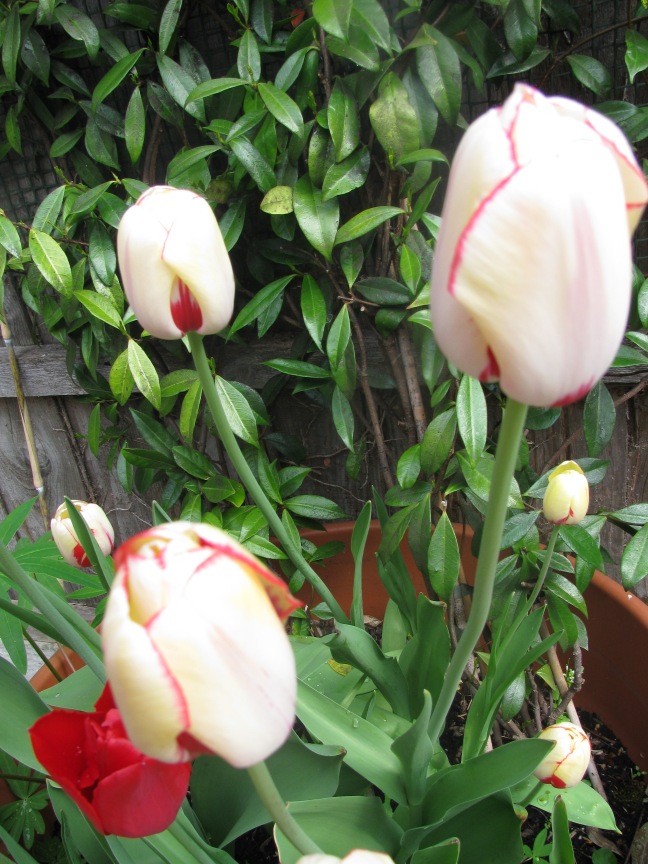
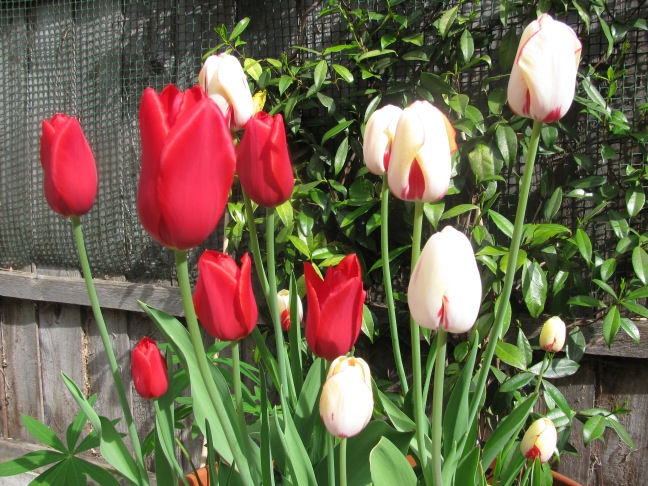
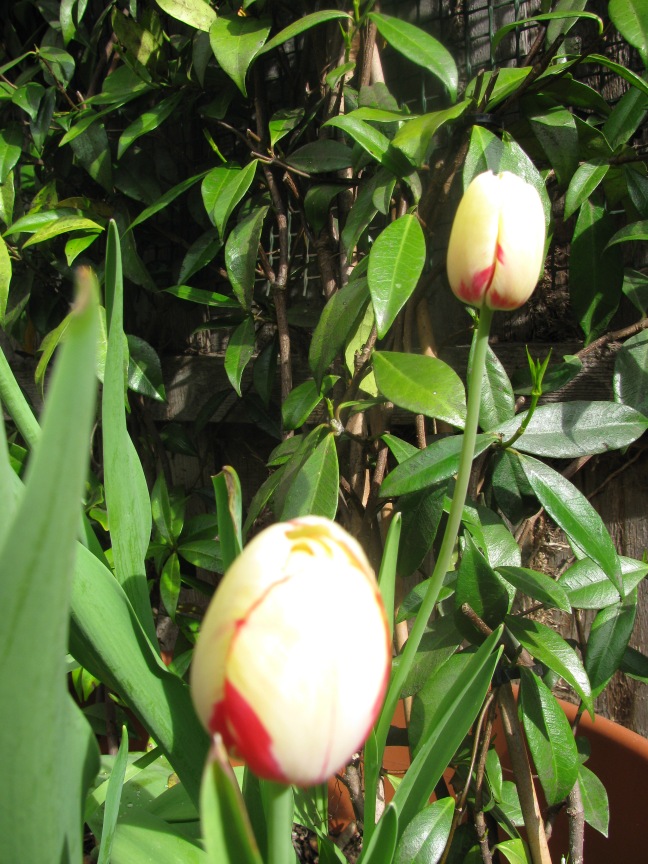
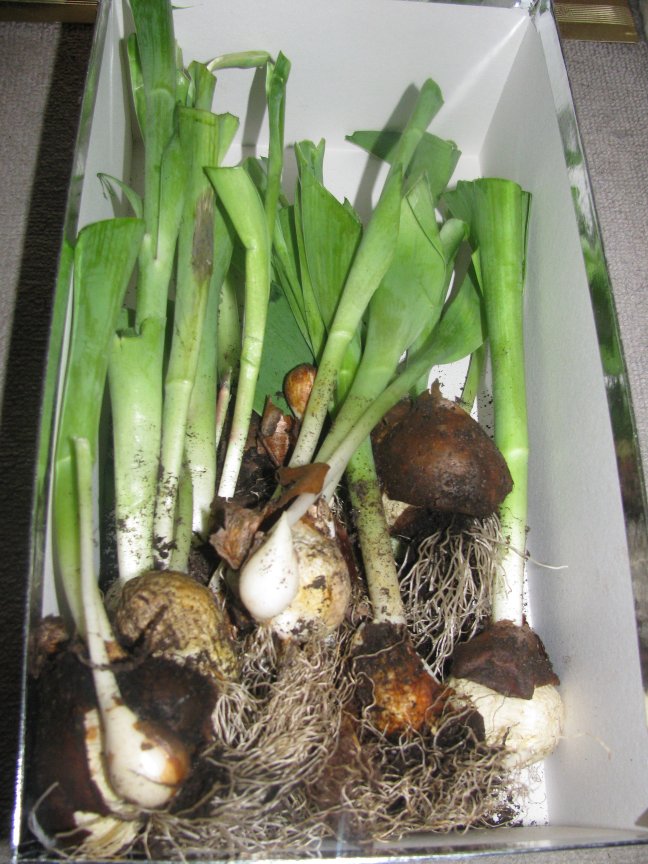
My bulb-planting effort This year I planted two yellow hyacinths I had stored in a box over the summer to hibernate, as well as ten ‘cherry-red late Kings Blood and ‘cremewhite-red flamed late Portofino‘ tulips I bought in Munich:

Happy planting everyone!

March Update: Below are the hyacinth (at the front left) and tulips, in March 2013:

tulips and hyacinthsHere they are in April 2013:

067

tulips in May 2013: 

tulips

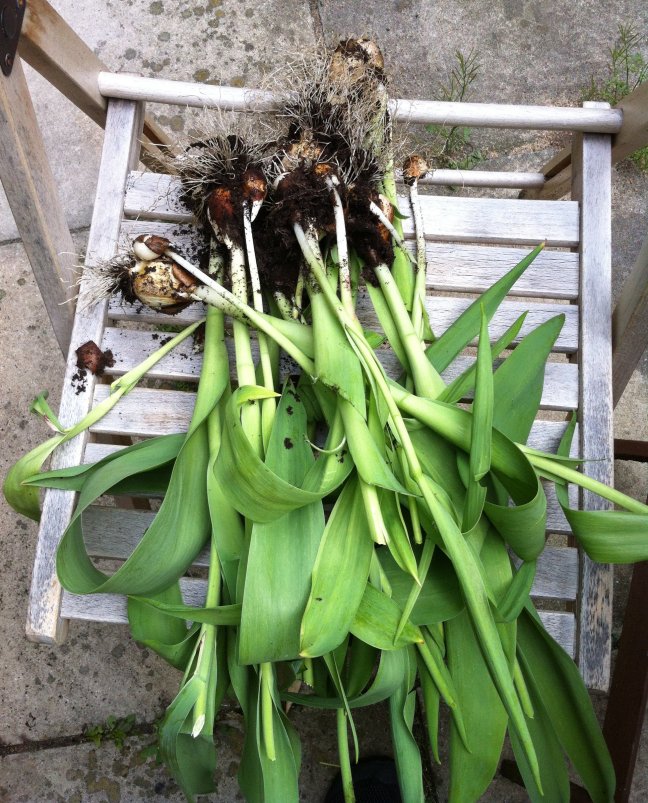
faded tulips with roots

faded tulips in a box

Easy plant maintenance tip

To maintain healthy looking plants with shiny leaves, remove any deposited dust every two to three months, by putting the entire plant with its pot into the shower.

Use cold water to wash the dust off and work quickly, to avoid soaking the soil completely in water. It is important for the water to be cold or lukewarm at most, otherwise it will damage the plant.


Before: leaves covered in dust have lost their shine

After: shiny, dust-free leaves:

This is also a good occasion to check the roots

It is a case of either re-potting plants, or where there is still room for growth,
adding new soil to cover the roots.

Lemon plant

This lemon plant was a gift I received from a gardener when I bought some other plants in his shop. It is a very rewarding plant as it keeps producing lemons all year round.

In London lemon plants can stay outside during summer, and in winter it is best to keep them inside, on a window ledge with no radiator underneath. This past winter this lemon plant stayed on a window ledge facing East where it was exposed to plenty of light and did indeed very well. It needs to be watered every two to three days in summer and once a week in autumn and winter.

Tip for sticky lemon plants – how to treat scale:

If you notice that a lemon plant and its immediate surroundings (i.e the window and windowsill) are sticky and the plant is covered in a gluey liquid, it has most probably caught ‘scale’.
But no need to worry, as long as you catch scale early, it can be easily treated in four simple steps that should be performed in the evening:

• Put on some rubber gloves, place the plant into the shower and wash it off with cold water. (Do not use warm water as this will damage the plant).
• Look underneath the leaves. If you see any brown spots, rub them off gently with your hands as this is a secretion that the scales leave on the plant. While doing this, be careful not to scratch the leaves, as you only want to remove the deposit the scales have left. If a leaf is very badly affected, break the leaf off and throw it away.
• Give also the pot a rinse and clean the window sill to avoid re-contamination.
• Then take a small water spray bottle, fill it with water and a few drops of dish-washing liquid. Spray this mixture on every part of the lemon plant (including the stem and soil). Now put the plant back on to the windowsill. [Important: don’t spray the plant with soap water and subsequently put it into the sun, – this will ruin the plant. Instead, spray the plant in the evening, so that by the following morning the soap water has dried and the sun can’t affect the plant]. 

Depending on how badly the lemon plant is infested by scale, the above procedure needs to be repeated on three to four different days, leaving one or two days in between. This might seem cumbersome, but I promise it works, is cheap and there are no pesticides involved.

So all the best for your lemon plant!

.

13 days later…

Hello!

Just to keep you up to date, here are the same plants photographed today. I think the Indian cress is doing well and the lupine has also grown:

In fact, the lupine is starting to flower! Yesterday I thought the colour was blue, but this morning in the sun it turned out to be a light purple:

Those of you have looked very closely at the photos will have noticed that I’ve taken the two flower bulbs next to the lupine, out of the pot this week. This is because my mum gave me te following tip for flower bulbs: 

Once the blossoms of your flower bulbs have faded (in the UK this is around mid-May), take the bulbs carefully out of the soil without damaging the roots, and put them into a shoe box. Place the box with no lid, into a dark, dry but not too hot place until October. (You can keep the soil that sticks to the roots on the bulb).

Over the course of the summer while lying in the box, the plant will retract all the energy from the green leaves back into the bulb. The leaves will dry.

Then, in October, you can plant the bulbs out into the soil again, and they will blossom during the following spring.